Table of Contents
Working with templates
Pixelmator Pro features over 400 beautiful, designer-created templates for social media, web, print, and more. You can use the templates to quickly create professional-looking designs even if you have no design experience. Thanks to the easy-to-use on-canvas controls, you can replace the placeholder elements — images, videos, logos, or text — with your own visuals or text with just a few simple clicks. You can also use built-in alternative elements — shapes, layer masks, illustrations, and more — to easily customize your designs.
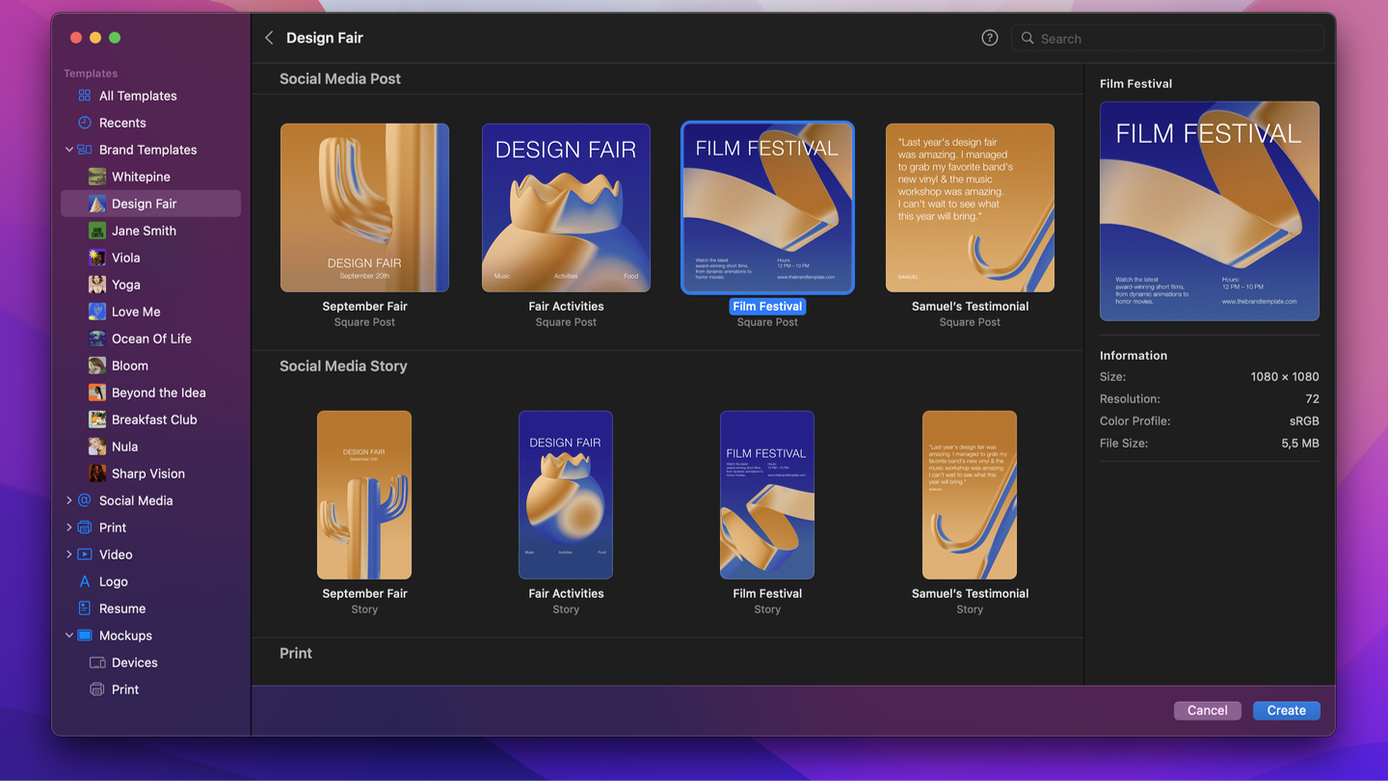
Create a new image from a template
To create an image from a template, do one of the following:
- In the Pixelmator Pro Welcome screen, click "Create a new document". If the Welcome screen doesn't show up, choose Window > Welcome to Pixelmator Pro (from the Window menu at the top of the screen). You can also press + + on your keyboard.
- Choose File > New (from the File menu at the top of your screen).
- – click the Pixelmator Pro icon in the Dock and choose New.
In the template browser, select a template design you like. You can search for templates by name or type in keywords to show all related templates. To see a larger preview of a template, press on your keyboard.
(Optional) Some templates have alternative document sizes or layouts to choose from. In the sidebar on the right, you can click the Size pop-up menu and choose a template size.
Click Create to create a document.
Replace placeholder images
You can replace the placeholder images in templates with your own images. All the effects or color adjustments applied to the placeholder image will be applied to your image, too.
To replace a placeholder image, do any of the following:
- Click the Replace Layer button
 on the placeholder image, then choose Replace from Photos, Replace from Files, or Replace from Clipboard.
 - Click the Replace Layer button next to the placeholder layer in the Layers sidebar.
- Select the placeholder image layer, then choose Format > Replace Layer from the Format menu at the top of the screen and choose an option.
The new images will be inserted with the help of Smart Replace — a machine learning-powered feature that combines the power of three other ML features: Remove Background, Super Resolution, and Auto Fill.
Note: If you're replacing images with multilayered documents and would like to move the entire group, make sure automatic group selection is enabled. To do that, choose the Arrange tool ![]() , at the bottom of the
Tool Options pane select the Auto Select option and choose Group from the adjacent pop-up menu.
, at the bottom of the
Tool Options pane select the Auto Select option and choose Group from the adjacent pop-up menu.
When replacing placeholders with images from Files, you can additionally choose a preferred fill option — Original Size, Auto Fill, Scale to Fill, Scale to Fit, or Stretch.
Replace placeholder text
You can replace any written text in templates with your own text. All the formatting applied to the placeholder text will be applied to your text, too.
To replace a placeholder text, double-click the text layer you want to edit, click and drag over the text you want to replace and start typing.
If you can't select the text, make sure the Auto Select feature is enabled. Choose the Arrange tool ![]() and select Auto Select at the bottom of the
Tool Options pane
and select Auto Select at the bottom of the
Tool Options pane
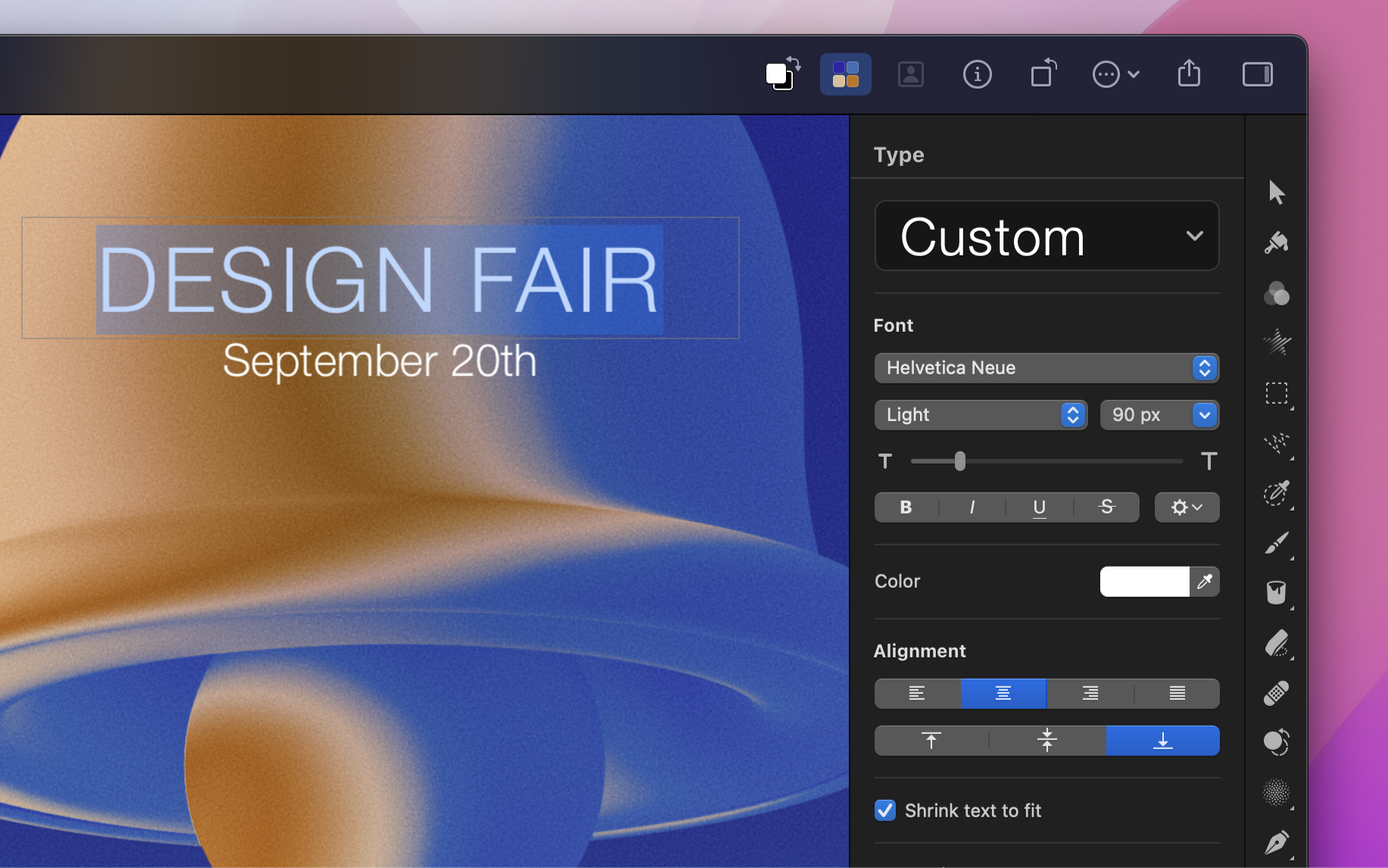
When replacing text in templates, the Shrink text to fit option is enabled by default. This means text size will be automatically reduced as you type if it no longer fits inside a text box or path.
If you'd like to turn off Shrink text to fit:
- Select the layer you'll be editing.
- Choose the Type tool
 .
. - Deselect Shrink text to fit in the Tool Options pane.
Choose element alternatives
Individual templates in Pixelmator Pro include a wide range of unique shapes, illustrations, effects, and other alternative elements. You can switch between these elements to easily change the look of a design. For instance, in the Design Fair templates collection, you'll find 11 different illustrations — bell, cloud, nut, toy, pumpkin, ribbon, cactus, shell, berry, and egg — each giving a different theme to a design.
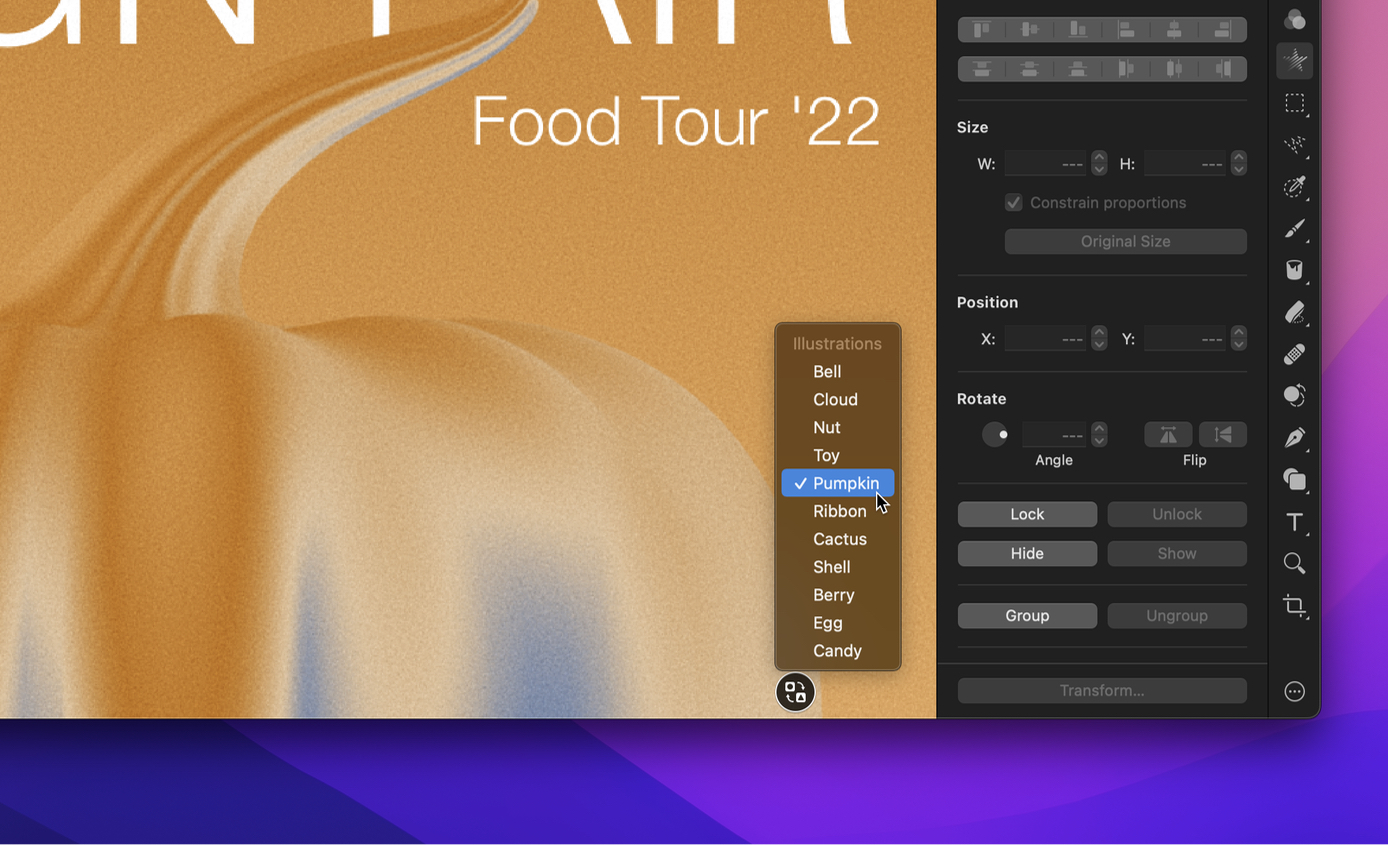
To change an alternative element, do any of the following:
- Click the Alternative Elements button
 next to the element you'd like to replace, then choose an element to apply it. You can also hover your pointer over menu items to see previews.
 - In the Layers sidebar, open the Alternative Elements layer group and select an element you'd like to apply.
Customize template colors
To give templates a unique look and feel, you can choose from a set of ready-made Document Colors palettes.
- Click Document Colors
 to learn how to add it.
 - If you want, you can further customize the color palette:
- Change color in a palette — Click any of the color swatches to open the color picker. You can also pick a color from the image using the eyedropper tool.
- Add or remove colors — Control-click a color swatch and choose Add Color or Remove Color.
- Create a new color palette — Click More
 and choose Duplicate Palette, then change colors in the new palette however you want.
 - Copy or paste color palettes — Click More and choose Copy All Palettes to copy or Paste All Palettes to paste them.
- Remove a color palette — Select the color palette you'd like to remove, then choose Remove Palette from the More menu .
Define custom placeholder images, shapes, or alternative elements
In Pixelmator Pro, you can define custom placeholder images, text, and alternative elements, so you can create your own templates from scratch.
To define an image or shape as a placeholder:
- Select the layer you'd like to use for a placeholder in the Layers sidebar or directly on the canvas.
- Choose Format > Advanced > Define as Placeholder from the Format menu at the top of the screen.
To define a group of images, shapes, or text as alternative elements:
- Group the layers you'd like to use as alternative elements.
- Choose Format > Advanced > Define as Alternative Elements Group from the Format menu at the top of the screen.
In the Placeholder Options menu, you can choose how the element you replace will be inserted. You can choose to automatically remove the background, or scale the visual in a number of different ways.
Save and export designs
After you're finished designing a template, you can save it or export it.
- By default, saving a template creates a PXD document in your chosen location, giving you the option to continue editing the template whenever you want. You can also choose to save your template to other image formats such as JPEG, PNG, HEIC, TIFF, and WebP while preserving changes.
- Exporting a template lets you share your created designs on the web, send them to people who don't own Pixelmator Pro, or print them out.
Important: When exporting templates, pay attention to the export method you choose. Quick Export is best for producing images optimized for the web. Designs exported this way will be more lightweight and load quicker on the web but may also lose some level of detail. To export high-quality designs, use the regular Export option in the File menu instead.


