Table of Contents
Quickly fill an image with color
Quickly fill images, selections, or individual objects with a solid color. You can choose to fill with foreground or background color specifically. See Choosing colors to learn more about choosing foreground or background colors.
Fill with the Quick Fill tool
- Use the color picker to choose the color you want.
- Choose Format > Image > Image Fill with Color from the Format menu at the top of your screen.
Customize Quick Fill options:
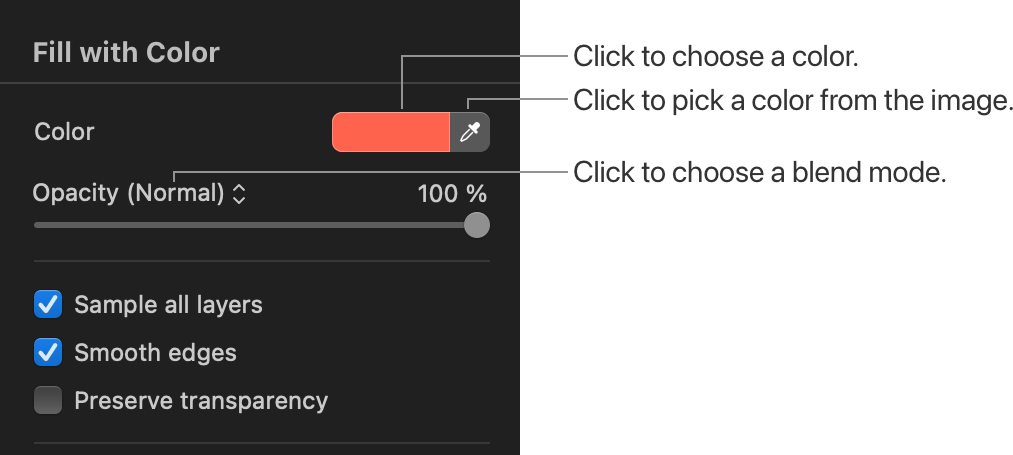
Color: Click the color well in the Tool Options pane to choose or change the fill color.
Blend Mode: Click the Blend Mode pop-up menu to choose how the fill color blends with the colors of the layer below.
Opacity: Drag the Opacity slider to adjust the transparency of the fill.
Sample All Layers: Select Sample All Layers to take into account the contents of every layer in your image when filling, not just the selected layer.
Smooth Edges: Select Smooth Edges to naturally smooth the outline of the fill. With Smooth Edges unselected, the outline will be a little more precise but jagged.
Preserve Transparency: Select Preserve Transparency to fill only the opaque areas of an image, leaving the transparent areas untouched or deselect it to disregard transparency in an image.
Fill with foreground or background color
- Press + to fill with a foreground color.
- Press + to fill with a background color.
When using quick fill shortcuts, you can also press and hold the key to fill only the opaque areas of a layer.
Tip: To quickly fill an image, text, or shape, you can also drag a color from the color well in the toolbar or any color well in Pixelmator Pro directly onto a layer.


