Dears,
this is an important feature to adjust a layer based on pre-render black and white image mask.
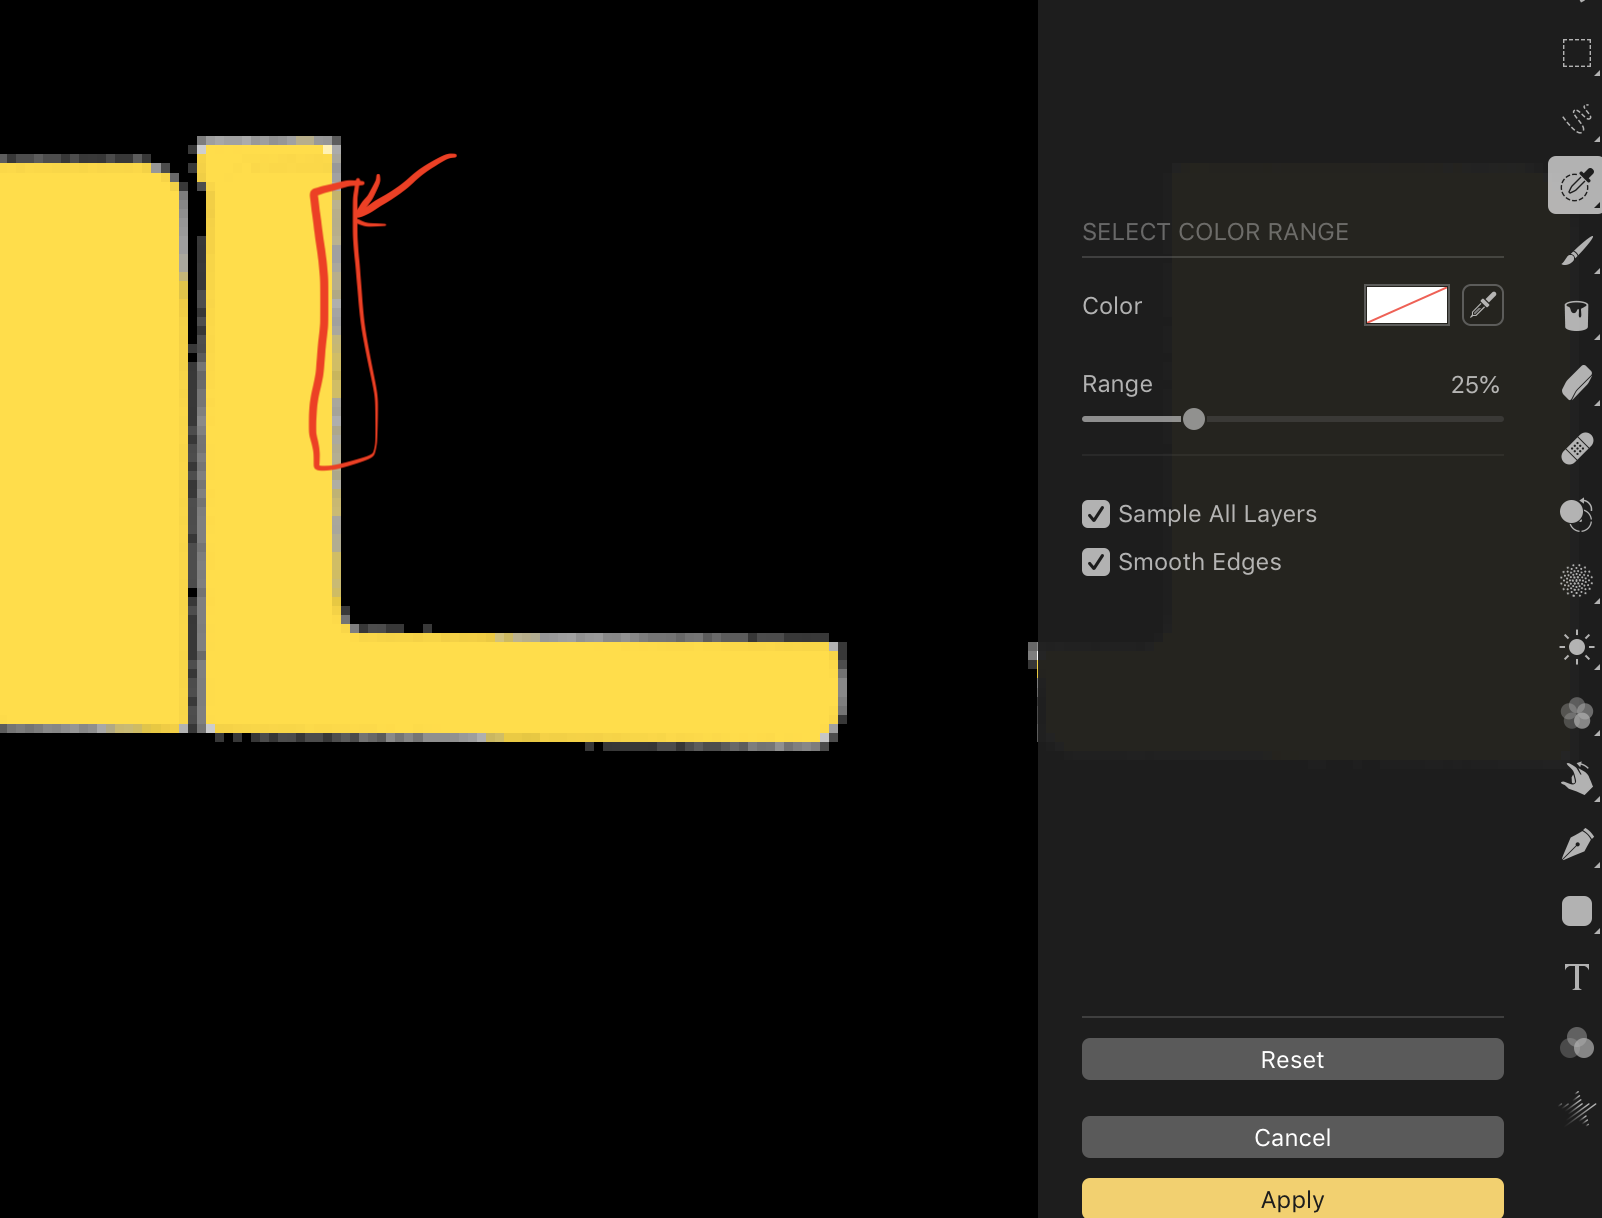
I tried to use the color selective tool but it can not select exact pixel ranges what so ever I tweak the range slider.
so my request is to be able to just copy that black and white image to another layer mask without any processing.
please check this image of the inaccuracy of the color selective range:
Awaiting your feedback,
Thank you.
*** layer mask from another b/w image (rendered alpha/mask) ***
2018-10-13 12:17:04
2018-10-13 13:52:48
Hi 3hfx.
I'm not 100% sure I understand you so please forgive me if this doesn't answer your question.
As I understand it, you want to be able to create a mask for one layer based on the brightness information contained in another layer. If so, then it's a want that we share. As far as I'm concerned, it's all just pixel data.
As of Pixelmator Pro 1.1.5, I don't think it can't be done directly, but there is a 3-step process that gets us there. The tools I'm using here have been added fairly recently so make sure you're on the latest version of Pixelmator Pro.
Start with an image that contains two layers: One layer to be masked (the image layer) and one that contains the masking info (the mask layer).
1. Select the mask layer in the layers panel and apply the Mask to Alpha effect (Effects > Other > Mask to Alpha). This will add a transparency channel to the layer (black->totally transparent, white->totally opaque).
2. Command-click on the image of the mask layer in the layers panel. This will create a selection that matches the opacity of the layer (totally transparent->not selected, totally opaque->fully selected).
3. Right click on the image layer and select Add Mask. A mask will be created that matches the selection.
Hope this helps. If any of this isn't clear or if I have misunderstood you, just post back and I (or someone else) will help. (And, if anyone knows a quicker way of achieving this, please post - I'd love to know.)
- Stef.
2018-10-13 14:31:37
Hi Stef,
yes, you are correct, it worked! thank you so much!
its a little different way than what we used to do in other software, but it worked,
I highly recommend you guys make a video about that feature since many people will face the same issue.
and much appreciated the super fast support!
Husni,
Best regards,
2018-10-16 10:31:06
There's actually a simpler way to do this that, I believe, should work. Here it is:
1. Add a mask
2. Click to select the mask, then choose Format > Effects > Fill > Image (make sure you're applying the Image fill effect to the layer mask, not the layer).
3. Drag and drop your image into the image well in the Tool Options pane on the right.
Hope that helps!
1. Add a mask
2. Click to select the mask, then choose Format > Effects > Fill > Image (make sure you're applying the Image fill effect to the layer mask, not the layer).
3. Drag and drop your image into the image well in the Tool Options pane on the right.
Hope that helps!
2018-10-17 09:45:45
Thanks Andrius,
I tried it today, and yes its a shorter way, it looks to me that Pixelmator pro have deep hidden features that require an exploration journey
2018-10-17 10:03:05
Some things are a little hidden and could definitely be made more visible. The Image fill effect is probably one of those, but right now, it's kind of in its most logical place, it's just that it's pretty versatile. For example, it can act as the fill layer of a clipping mask when applied to a shape, text (or even image) layer. In fact, when a PXM or PSD file has a clipping mask, this is how the mask is nondestructively retained in Pixelmator Pro — as an Image fill effect applied to a particular layer. Along with that, it can also be a grayscale mask when applied to a layer mask, which is another very useful application. I'm sure there's one or two other ways it can be used as well, but those are the main things that came into my head at the moment.