Pixelmator Pro is an image editor designed to make the most powerful professional image editing tools accessible to everyone. And with an extensive collection of tools for editing and retouching photos, creating graphic designs, painting, drawing vector graphics, and adding stunning effects, it’s the only image editor you’ll need.
Pixelmator Pro comes with a full set of vector tools for creating resolution-independent designs. It includes easily-customizable smart shapes, a large collection of pre-designed shapes, and support for vector file formats including PSD, SVG, PDF, Adobe Illustrator, and Illustrator EPS.

Vector shapes are resolution-independent, so curves always look smooth and edges always stay sharp, no matter how much you resize each shape or even entire vector designs.

Pixelmator Pro supports vector file formats, including PSD, SVG, PDF, Adobe Illustrator, and Illustrator EPS, so you can effortlessly edit shapes and paths in these files, and export them while keeping all their vector data.

With a collection of pre-made Smart Shapes, you can quickly add star and various polygon shapes, arrows, speech bubbles, and other shapes to your compositions, then customize them in any way you want.
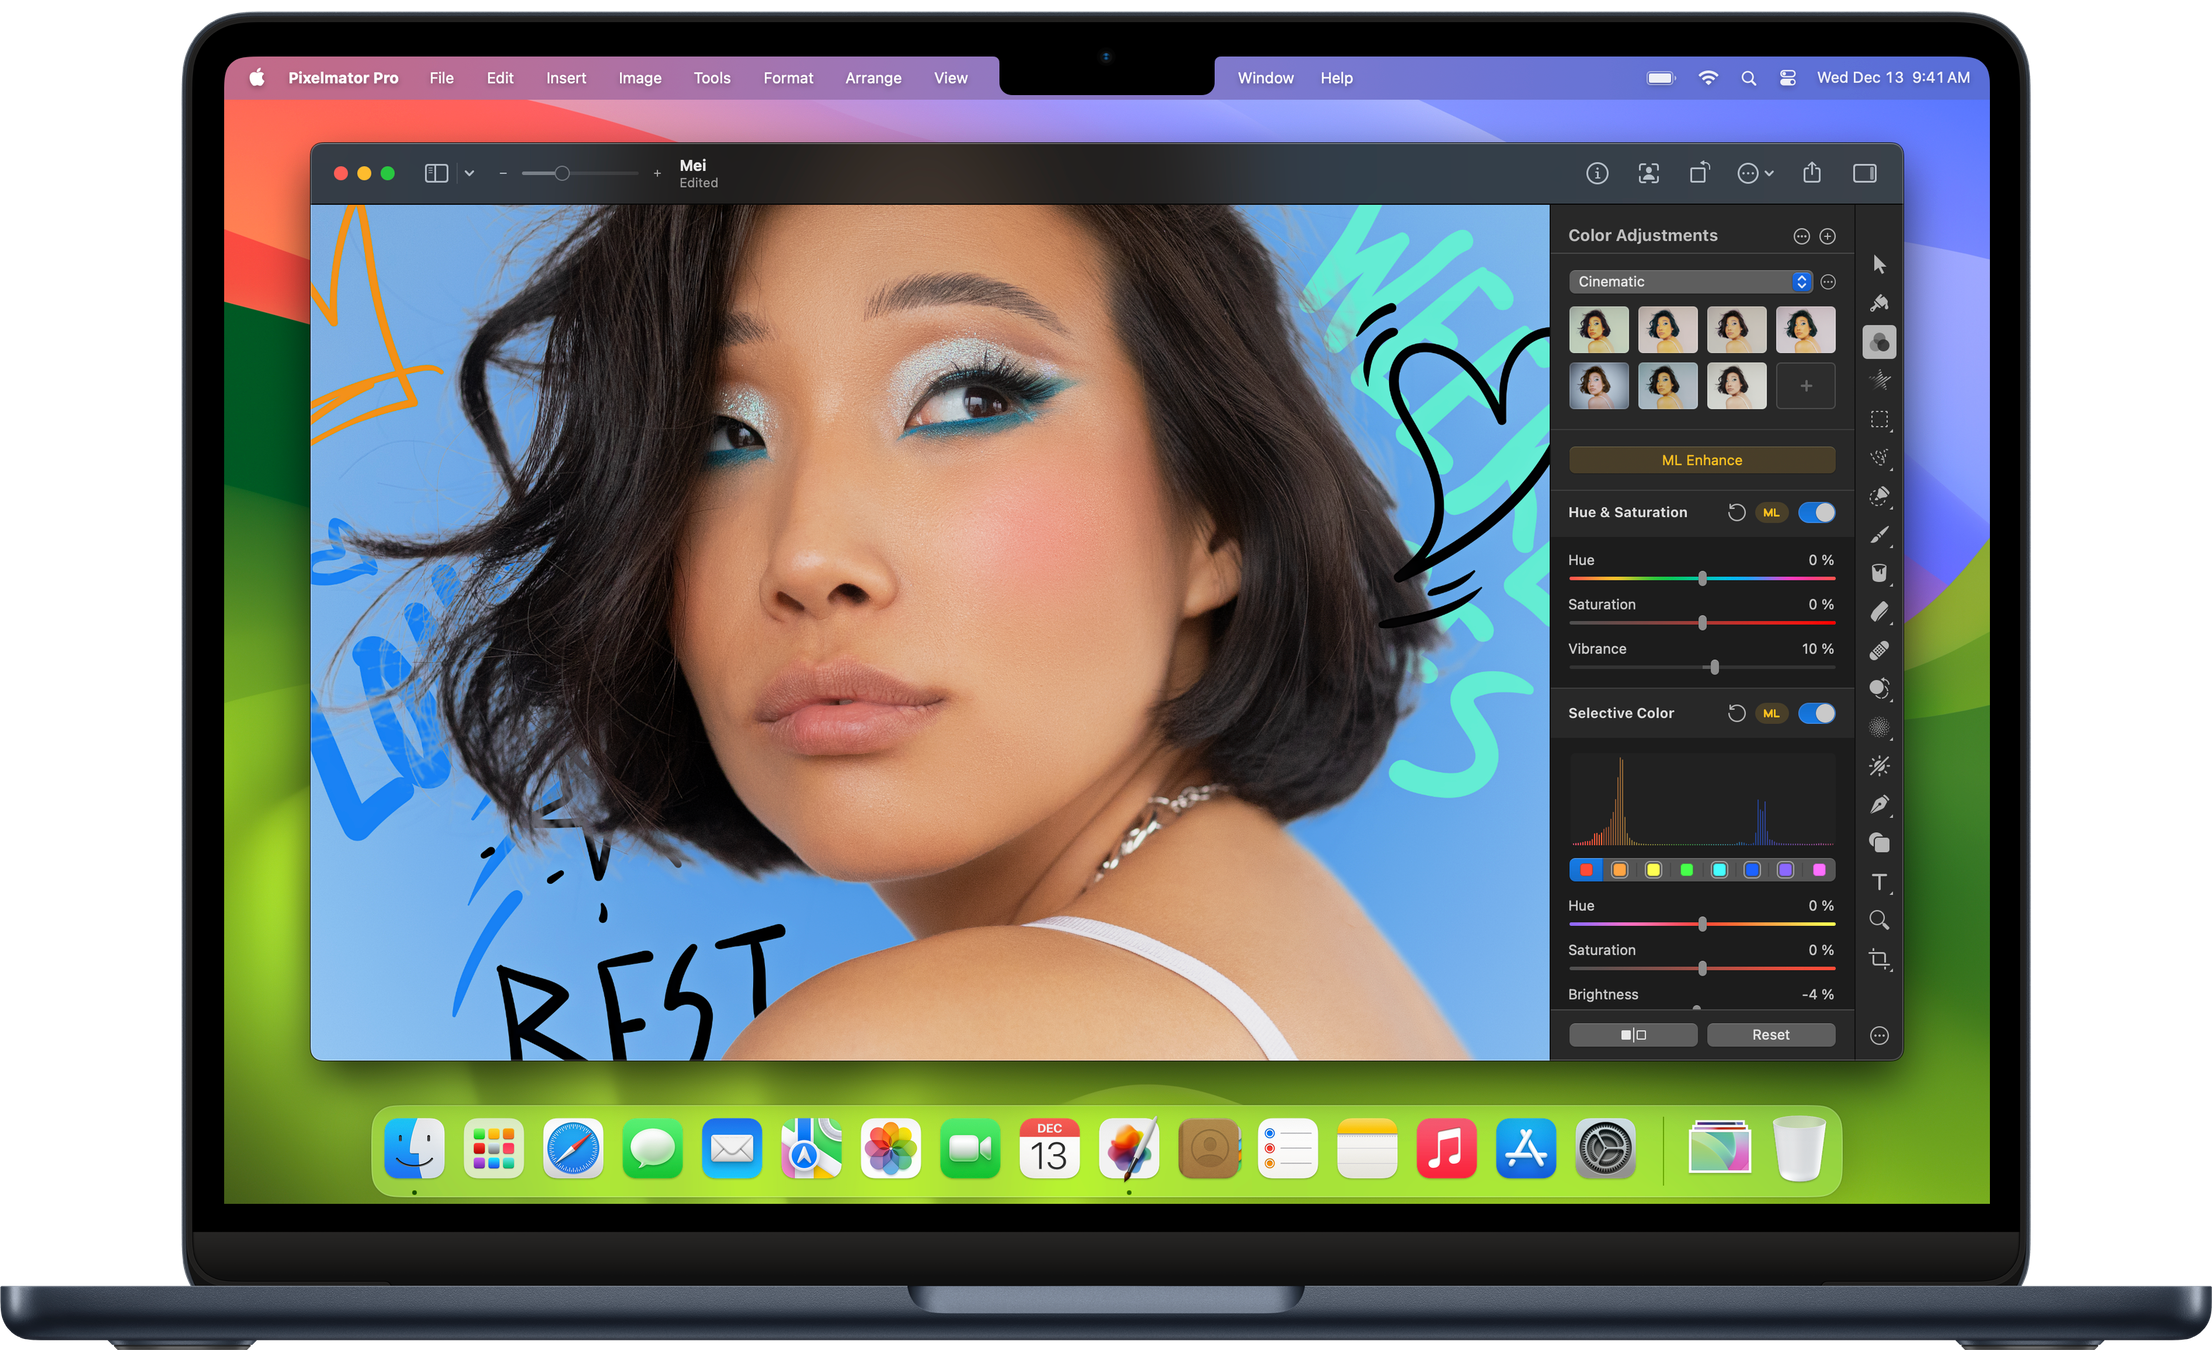
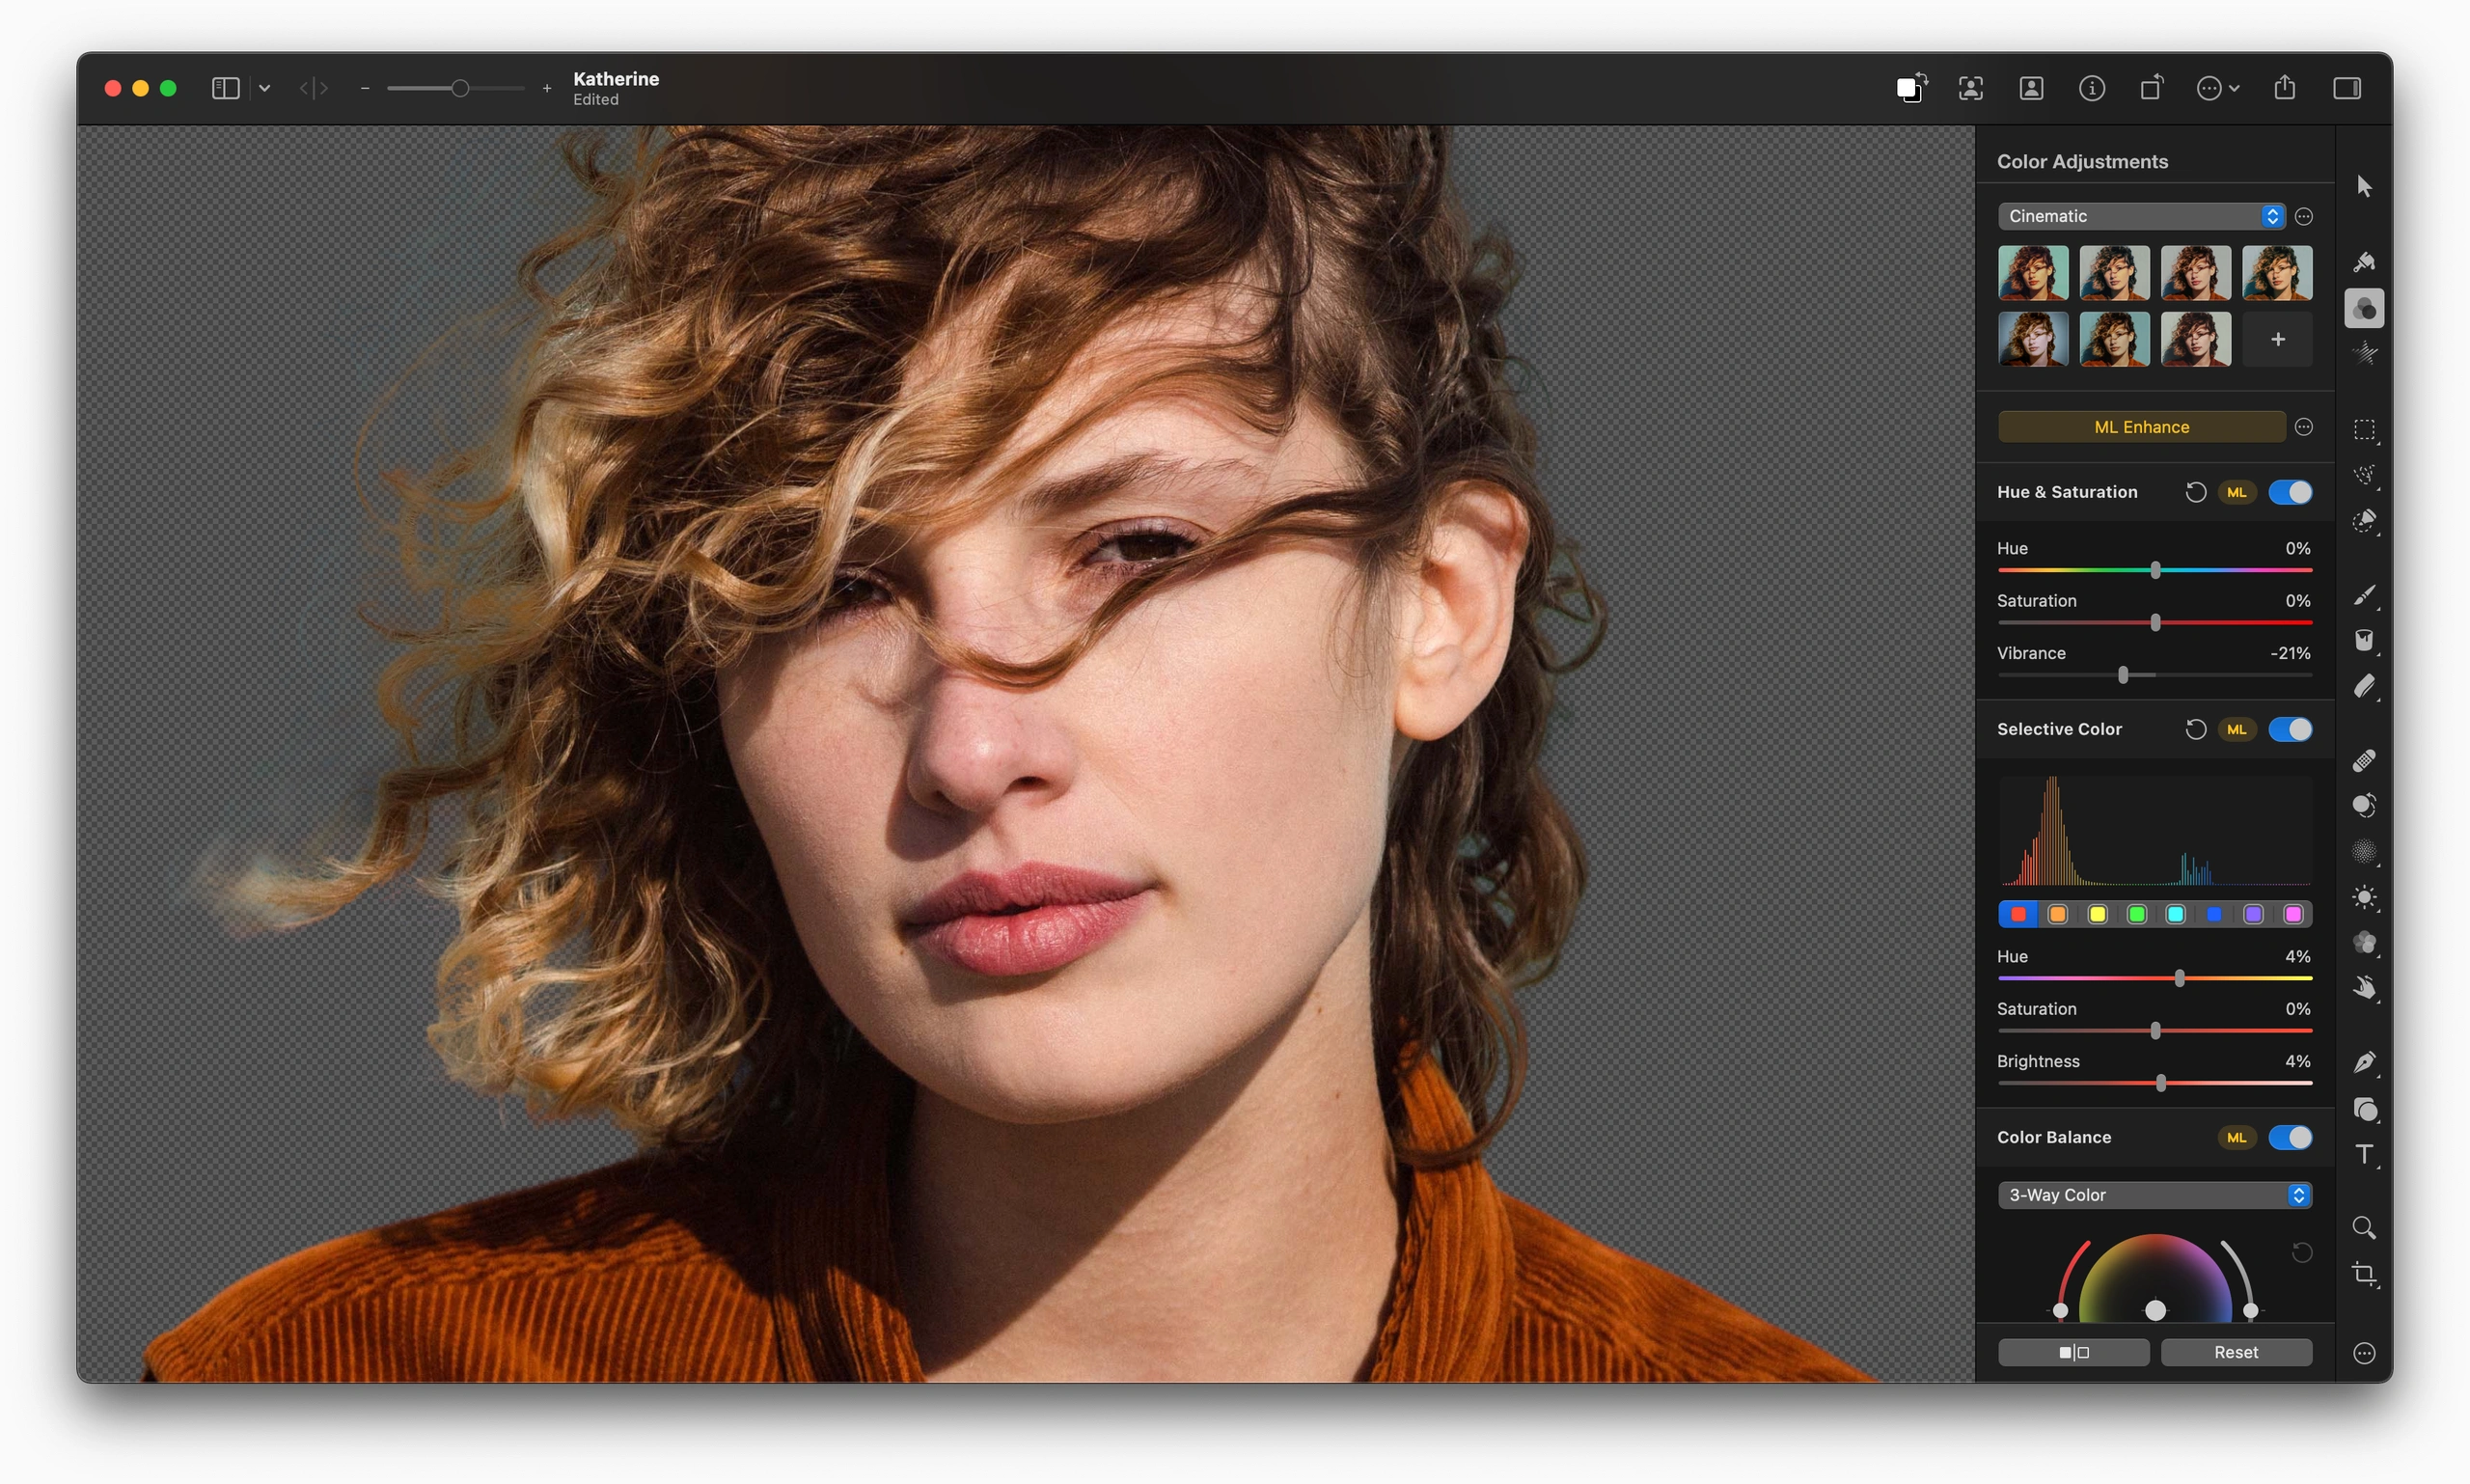
The collection of powerful, nondestructive color adjustments in Pixelmator Pro lets you edit the colors in your photos, or even videos, in any way you want. And with full support for RAW photos, a collection of stunning adjustment presets, and incredible retouching tools, it couldn’t be easier to turn good-looking photos spectacular.

In Pixelmator Pro, you’ll find everything from essential color adjustments like brightness, contrast, and exposure to advanced tools like multi-channel curves and wheel-based color balance.
Many of the most important adjustments can be applied automatically, using a machine learning algorithm trained on 20 million photos.
Magically remove unwanted objects, clone parts of your photos, lighten or darken precise areas, and do much more. All by using simple brushstrokes to retouch just the areas you want. So all your shots look picture-perfect.
Pixelmator Pro supports RAW photos from over 750 of the most popular digital cameras. What’s more, you can add RAW photos as RAW layers and edit directly without having to convert or preprocess them.
View supported RAW formatsUse color adjustments layers to combine different color adjustments, selectively edit photos with incredible precision, and change the look entire layered compositions with ease.
Whether you’re working on a design for a poster, a webpage, or a blockbuster app, you’ll make your ideas come to life in Pixelmator Pro. With smart spacing guides, advanced alignment tools, and blazing fast performance, you can harness the full power of layer-based editing.

Use simple buildings blocks – shape, text, video, and image layers – to create stunning compositions and designs. Add layers in delightfully quick and simple ways, such as by dragging and dropping them straight into Pixelmator Pro, or using the built-in Photo Browser.
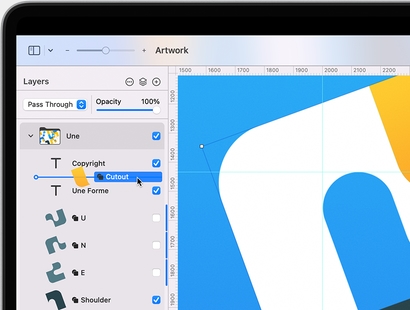

The Arrange tool makes it incredibly easy to create designs. It lets you automatically select layers by clicking them on the canvas, intelligently snaps layers into position as you move them around, and even lets you align and distribute layers automatically.
Nondestructively customize the look of any layer in your image by adding fills, strokes, and shadows, or any combination of multiple styles. And with presets, you can save your favorite combinations, use them in any of your images, and even share them with others.
Create eye‑catching designs with ease using stunning design templates and see them come to life in beautiful, fully‑customizable mockups.


Customize the Pixelmator Pro workspace to make it work for you — move the Tools and Layers sidebars wherever you want and completely customize the list of tools. Or choose one of the built-in presets created especially for photographers, designers, painters, and illustrators.


The jaw-dropping, Core ML-powered Remove Background feature removes the background from any image with just a click. Using a combination of machine-learning algorithms, Pixelmator Pro automatically selects the subject, refines the edges of the selection, then removes any traces of the previous background from the object’s edges.
To deliver more intelligent image editing, Pixelmator Pro uses machine learning — a technology that allows computers to gain knowledge to perform specific tasks more like a person than a computer. Which enabled us to create features that have never before been possible.
Automatically enhance photos like a pro photographer.
Magically increase the resolution of images while preserving sharpness and details.
Quickly and easily match the colors and style of any photo.
Effortlessly remove camera noise and image compression artifacts from photos.
Quickly make accurate selections with ease.
Improve the composition of photos with just a click.
Remove the background from any image with just a click.
Automatically select the subjects of images with ease.
Easily make advanced selections of challenging image areas like hair or fur.
Make small imperfections or even entire objects disappear from your images by painting over them with the Repair Tool. No matter how complex the background, the Repair Tool can make almost any object vanish without a trace.
With a collection of pixel-accurate selection tools powered by state-of-the-art technology, Pixelmator Pro lets you pick out and edit precise parts of your images with ease. So you can apply color adjustments and effects to specific areas. Select and copy objects from one image to another. Or focus all edits on a precise area without affecting the rest of the image.


Thanks to its advanced algorithm, the Quick Selection tool lets you easily select even the most challenging objects and areas with just a few brushstrokes.
The Magnetic Selection Tool makes complex selections effortless. Simply trace the edges of any object and watch an accurate selection snap around it automatically.
Use the Color Selection Tool to quickly and easily select similarly colored parts of your image.
Make rectangular or rounded selections, select rows and columns, draw freehand selections, and more.

Using the powerful Type tools in Pixelmator Pro, you can easily design great-looking text in all your images. Effortlessly create curved text or type along shapes and paths. And use a full set of typography tools to customize text in any way you can imagine.
Pixelmator Pro includes a range of intuitive and easy-to-use tools for designing curved and circular text. Use the Circular Type tool to create circular text, the Path Type tool to create path text, or type text around the edges of any default or even custom shape.

Customize font face, size, and color, adjust emphasis, customize alignment, perfect spacing, add subscript and superscript text, take advantage of advanced typography features such as ligatures, glyphs, and more.
Use multicolored or even textured SVG fonts in your designs.

Pixelmator Pro comes with a collection of over 60 versatile effects that you can mix and combine to develop any artistic or special effects you can imagine. Effects are nondestructive, so you can always edit, rearrange, or remove an effect after applying it. And you can even apply multiple effects to a single layer — seeing all your changes in real time.

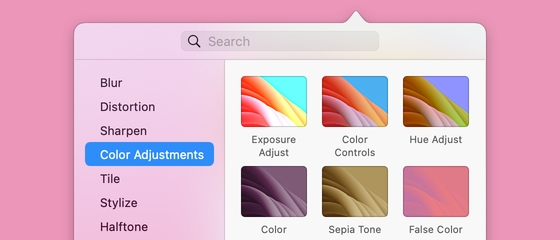
Choose from over 60 effects, carefully arranged into ten groups — Blur, Distortion, Sharpen, Color Adjustments, Tile, Stylize, Halftone, Generator, Fill, and Others.
The effects browser makes it incredibly easy to find just the effect you need. Browse effects, search for them by name, see instant previews, and quickly apply effects to your currently selected object.
The Pixelmator Pro editing extension makes the entire Pixelmator Pro app and all its features available right inside Photos. So you can edit using Pixelmator Pro without ever leaving Photos, keeping all your nondestructive edits saved inside your library. Your Photos app is now a full-featured, layer-based image editor.

Pixelmator Pro is designed from the ground up to be easy to use for beginners. But it’s ready to progress with you as you start mastering image editing, so you’ll also find many advanced features like Export for Web, Soft Proofing, support for Adobe Photoshop files, color management, AppleScript, and more.


From its app icon and the way it looks and feels to the technologies it supports, Pixelmator Pro has been designed to be the ultimate Mac app. Enjoy full support for every Mac feature and technology you’d expect — iCloud, Versions, Shortcuts, Sidecar, Apple Pencil, and many others.


The Pixelmator Pro image editing engine is seriously sophisticated and incredibly powerful. It’s designed exclusively to take advantage of the full power of Mac computers, using advanced Mac graphics technologies like Metal and Core Image. Pushing the boundaries of image editing, Pixelmator Pro also includes machine learning-enhanced editing features powered by Core ML. So tools aren’t just blistering fast — they’re whip smart too.

Pixelmator Pro runs natively on Mac devices powered by Apple silicon, taking full advantage of its incredible performance.

Using Metal, Pixelmator Pro harnesses the full graphics processing power of every Mac.

The groundbreaking machine learning features in Pixelmator Pro are integrated using Core ML, which brings the best possible ML processing performance on Mac.

Swift is a modern programming language built for efficiency, reliability, and top-notch performance.

Core Image greatly speeds up processing images, enabling blazing fast, nondestructive editing.

High-performance UI animations are powered by SwiftUI.
Pixelmator Pro has an average worldwide rating of 4.8 stars out of 5 with over 48,000 five-star ratings. It also has a Mac App of the Year award and proudly sports an Editors’ Choice badge on the Mac App Store. We think you’ll love it — and we’re not the only ones.