Table of Contents
Photomator settings
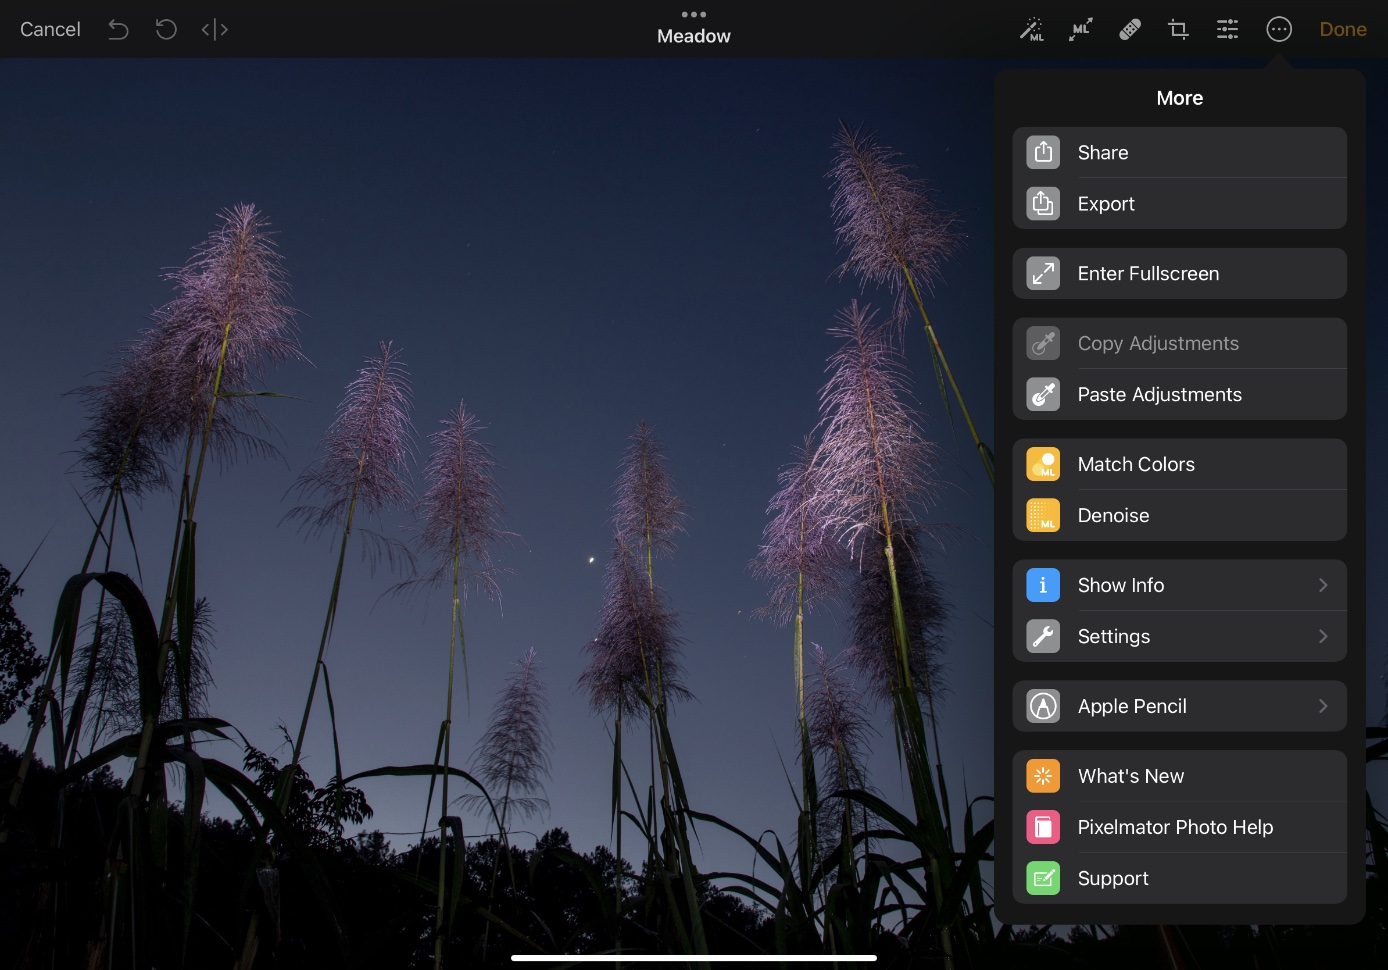
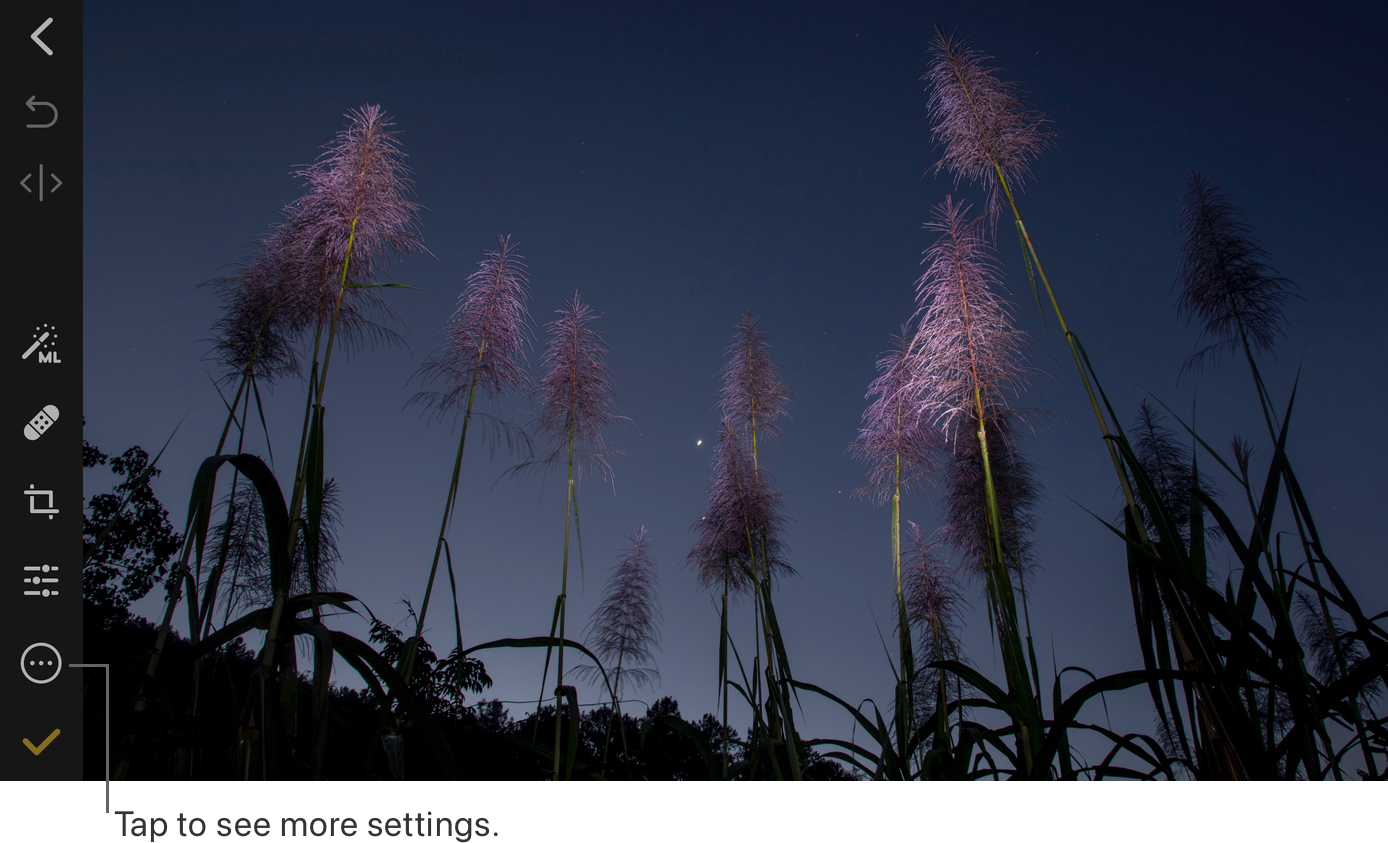
Using the settings available in the More ![]() menu, you can export and share photos, copy and paste adjustments from one photo to the other, denoise photos or choose photos for color matching, see the photo metadata, turn on or turn off various document-level settings, and more.
menu, you can export and share photos, copy and paste adjustments from one photo to the other, denoise photos or choose photos for color matching, see the photo metadata, turn on or turn off various document-level settings, and more.
Share and export photos
Using the Share and Export menus you can save, create copies of your photos, share them with friends, export them to other file formats, and more. Check out the Save, Share, and Export article to learn more about saving, sharing, and exporting photos.
Enter fullscreen
Enter Fullscreen hides all Photomator elements and lets you view and work on your photo without any distractions. To exit the fullscreen view, tap anywhere on the screen or if you're working with Crop or Repair tools — anywhere outside the photo.
If you're zoomed in very close and don't see the edges of the photo, pinch your fingers to zoom out and tap outside the photo to exit the fullscreen.
Copy and paste adjustments
Copy and Paste Adjustments lets you copy a combination of color adjustment settings from one photo to another. If you're looking to use the same combination of adjustments on multiple photos, you may want to create a color adjustment preset and apply it using a batch workflow.
Important: Photomator doesn't currently support copying and pasting of selective adjustments between photos. The adjustments can only be copied when applied to the base photo.
Match Colors
The machine learning-powered ML Match Colors feature lets you automatically match the colors of one photo to the colors of the other. Check out the ML Match Colors article to learn more about matching colors.
Super Resolution
ML Super Resolution intelligently upscales photos while preserving details and keeping them sharp and in focus. See ML Super Resolution to learn more. On iPad, you'll find the ML Super Resolution tool
![]() directly in your toolbar.
directly in your toolbar.
Denoise
Automatically and intelligently removes camera noise from photos using a smart noise detection algorithm. To remove ML Denoise from a photo, you can tap Undo ![]() at the top of your screen or open the More
at the top of your screen or open the More
![]() menu again and choose Reset ML Denoise.
menu again and choose Reset ML Denoise.
Show document info
Use Show Info to view the metadata embedded in your photo. Here, you can typically find all the basic information such as the name and type of a photo, the time and date it was created or modified, size, dimensions, location, device, and device settings.
Change the app settings
Status bar: Turn on Status Bar to keep an eye on your device stats, or turn it off to work in the full-screen mode.
Snapping: Turn on snapping to automatically snap the Crop tool bounding box to the edges of the photo or turn snapping off to adjust it freely.
Extended values: Turn on Extended Values if you’d like to extend the range of certain color adjustments beyond the default boundaries or turn it off to apply adjustments without the extended values.
Presets: Turn on Presets to show the Color Adjustment presets, or turn it off to hide them. Presets must be turned on to access the filmstrip photo browser.
Background Color: Choose what color Photomator will use as a background for the photos you work on. You can choose colors from white, light gray, gray, medium gray, dark gray, or black.
Filmstrip: Turn the filmstrip on to see and easily switch between photos in the current Photos album directly in the photo editing mode.
Change the app settings
Snapping: Turn on snapping to automatically snap the Crop tool bounding box to the edges of the photo or turn snapping off to adjust it freely.
Extended values: Turn on Extended Values if you’d like to extend the range of certain color adjustments beyond the default boundaries or turn it off to apply adjustments without the extended values.
Background Color: Choose what color Photomator will use as a background for the photos you work on. You can choose colors from white, light gray, gray, medium gray, dark gray, or black.
Filmstrip: Turn the filmstrip on to see and easily switch between photos in the current Photos album directly in the photo editing mode.
Apple Pencil settings
Customize the Apple Pencil and its gestures to activate certain tools and features in Photomator.
Assign the double-tap gesture to:
- Undo and redo changes.
- Select the Repair tool.
- Activate the Split Comparison view to compare the photo before and after edits.
Quick Edits. Use Apple Pencil to make edits using the Curves adjustment or the Repair tool even when the tool itself isn't selected.
Repair with Apple Pencil. When this option is turned on, only the areas you paint on with Apple Pencil will be repaired. Input from your fingers will only be used for scrolling or zooming.
Note: Apple Pencil customization options are available on compatable iPad devices and 2nd generation Apple Pencils only.
Restore purchase
If you've previously bought a Photomator subscription and deleted the app or if you'd like to use the app on a different device, you can do that by restoring your purchase. In the Photomator settings, tap Restore Purchase and follow the instructions on the screen.
Manage subscription
Photomator subscription comes in three different types: monthly, yearly, and lifetime. If you'd like to change the subscription type or cancel your subscription, you can tap Manage Subscription in the Photomator settings. It will take you directly to the Subscription settings in the App Store where you can make the changes you want.
Getting started
Here you'll learn the basics of Photomator — the main tools and how to use them.
Photomator help
The Photomator help guide is available online and in-app. Here is where you can learn more about the different tools and features in Photomator, and find some useful tips.
Contact Pixelmator support
If you have any questions about using Photomator or would like to share some feedback, tap Support to find out how to reach us or contact us at support@pixelmator.com.