Table of Contents
White Balance
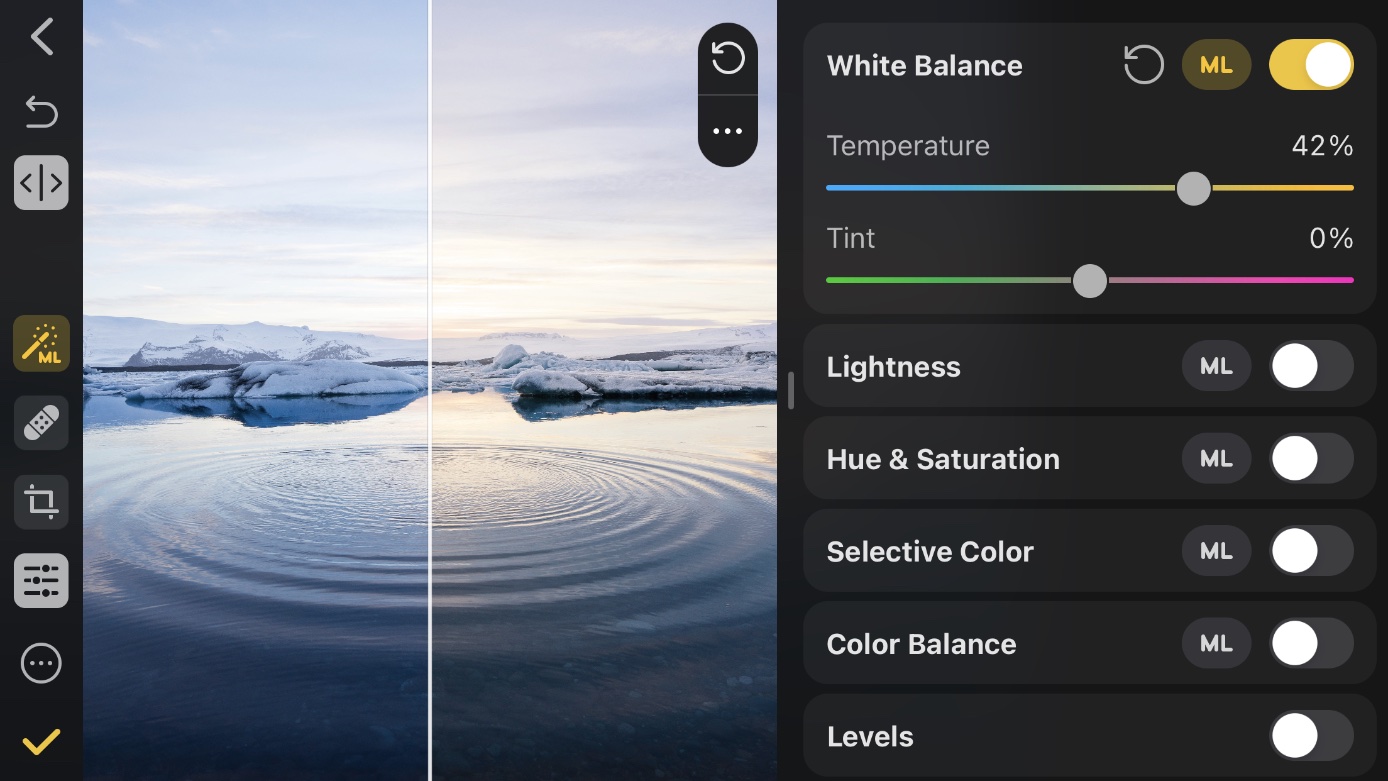
Sometimes, due to specific shooting conditions (fluorescent lights, for instance), the objects in an image may turn out looking too warm, too cool, or have some unnatural tint to them. This can affect the overall atmosphere of the photo. The White Balance adjustment lets you adjust the temperature and tint of an image and bring back some more natural-looking, real-world colors to it.
You can adjust the white balance manually, or automatically using the machine learning-powered ML adjustment.

Automatically correct the white balance
Tap
 in the toolbar at the top of the screen.
Tap ML next to the White Balance adjustment.
After doing this, you can additionally fine-tune the adjustment.
Manually adjust color temperature and tint
Tap
and turn on White Balance.Drag the Temperature slider to the left to make the image cooler, or to the right to make it warmer.
Drag the Tint slider to the left to add a green tint (or neutralize a magenta tint) or drag the slider to the right to add a magenta tint (or neutralize a green tint).
White balance a photo by choosing a neutral grey area
Tap
and turn on White Balance.Tap the name of the White Balance adjustment and tap Pick Grey Point.
Move the eyedropper to select a portion of the image that contains a neutral grey color.