Table of Contents
Format characters
You can increase or decrease the spacing between characters in any text. You might want to do this, for example, to experiment with line length in text, or to make a title fit on a single line.
Another way to affect character spacing is to use ligatures, a decorative joining of two characters to form a single typographic character. You can use ligatures in your image if the font you’re using supports them.
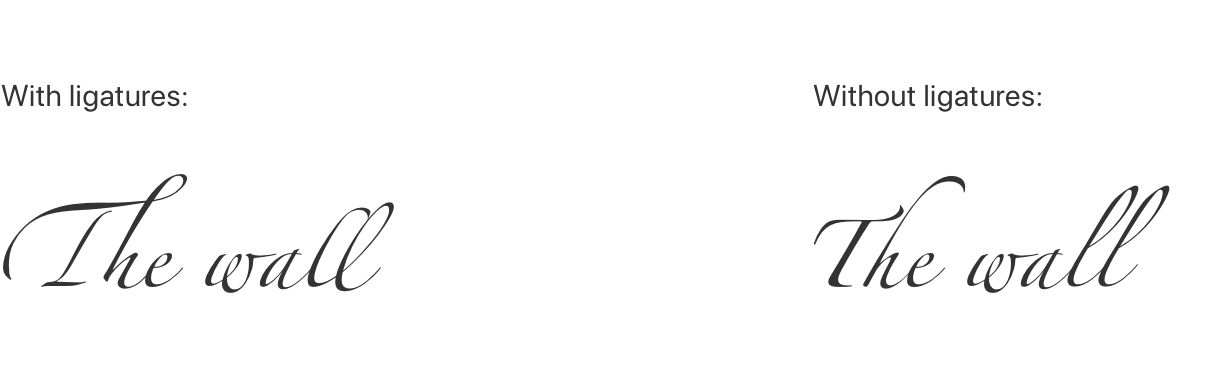
You can turn ligatures on or off from the Action pop-up menu in the Tool Options pane.
Adjust the space between characters
- Choose the Type tool by doing one of the following:
- Click
 in the
Tools sidebar.
in the
Tools sidebar. - Choose Tools > Type (from the Tools menu at the top of your screen).
- Press the key on your keyboard.
- Click
Select the text you want to change .
To change all of the text in a text box, click in front of the first character, then press + to highlight the entire text.
- Do one of the following:
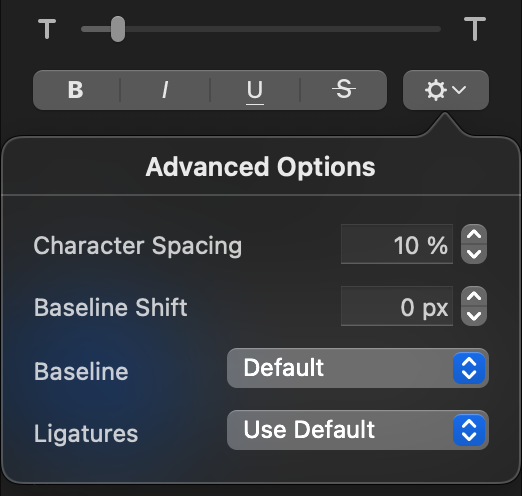
- Click the Action pop-up below the text size slider and enter the desired character spacing or use the arrow buttons to adjust it. You can enter a value from -0% to 1000%.
- Press – Right Arrow to increase character spacing or – Left Arrow to decrease it.
Make text subscript or superscript
- Choose the Type tool by doing one of the following:
- Click in the
Tools sidebar.
- Choose Tools > Type (from the Tools menu at the top of your screen).
- Press the key on your keyboard.
- Click
- Select one or more characters you want to raise or lower.
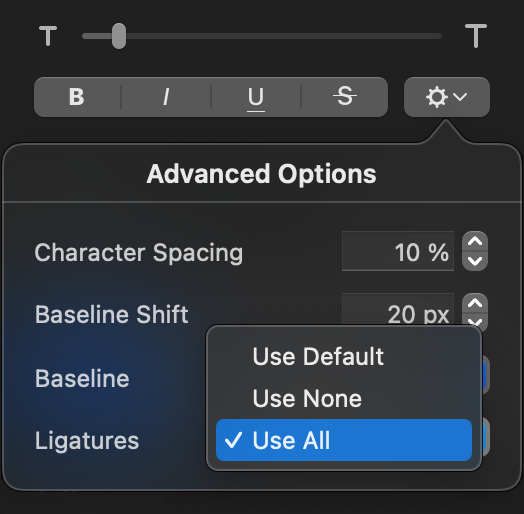
- Click the Action pop-up menu below the text size slider and choose an option from the Baseline pop-up menu.
If you want to continue typing regular text right after the superscript or subscript, click directly after the superscript or subscript character and choose the Default baseline option.
Raise and lower text without changing its size
Choose the Type tool by doing one of the following:
- Click in the
Tools sidebar.
- Choose Tools > Type (from the Tools menu at the top of your screen).
- Press the key on your keyboard.
- Click
Click the Action pop-up menu below the text size slider and enter the desired value in the Baseline Shift field. You can enter a value from -127 to 127 pixels.
Enter special characters and symbols
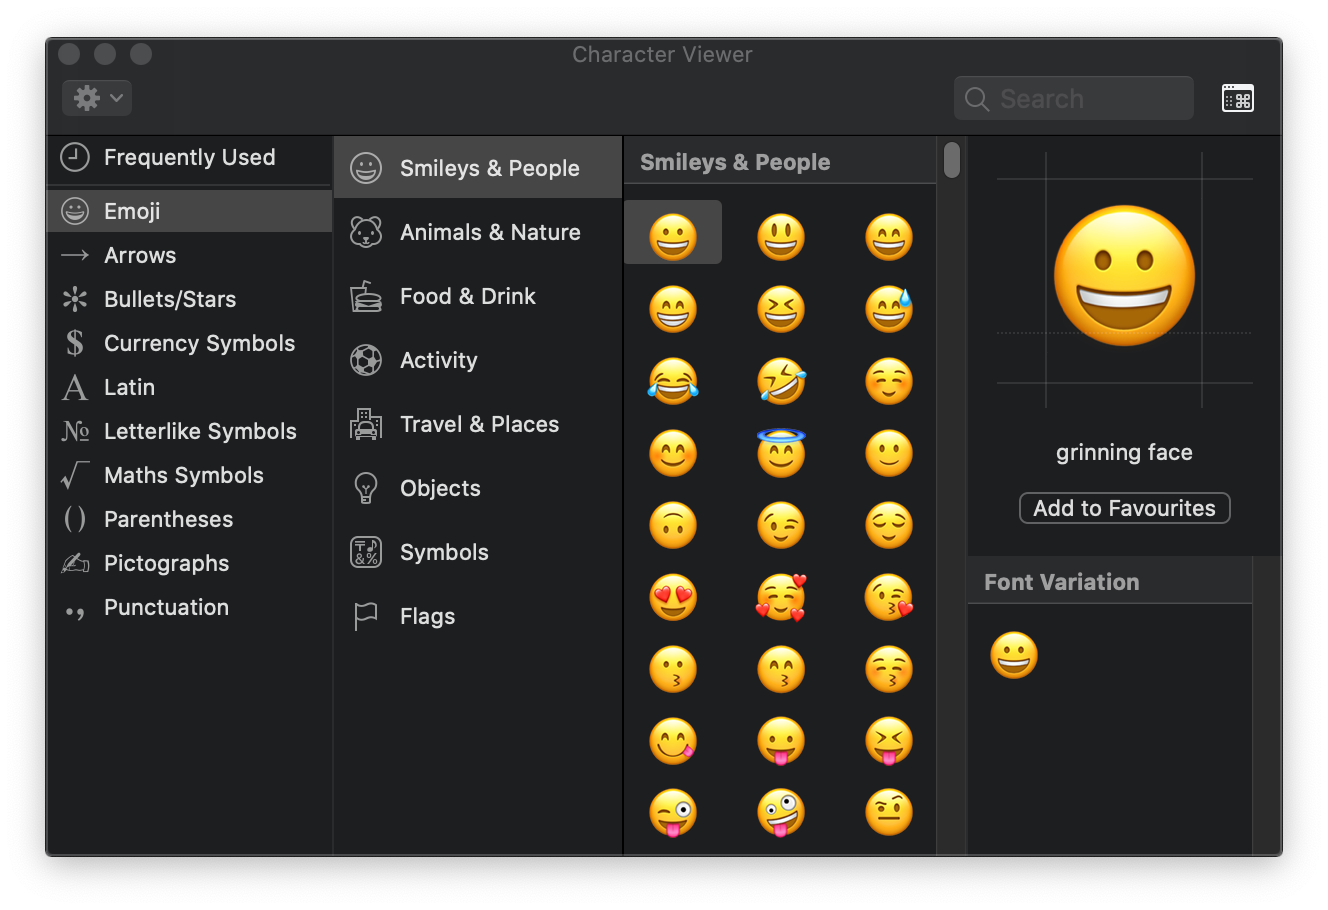
You can use the Character Viewer (shown below) to add special characters and symbols to text, such as math symbols, Latin characters, and pictographs.
Insert a special character or symbol
Place the insertion point where you want the character to appear, then do one of the following:
- Choose Edit > Emoji & Symbols (from the Edit menu at the top of the screen).
- Press + + on your keyboard.
The Character Viewer appears where you clicked. You can drag it to the desktop if you want to keep it open as you work.
To locate a character, do any of the following:
- Scroll to see more characters, or click the buttons at the bottom to jump to a category.
- Scroll up, then type in the search field at the top (for example, type "fractions" to see available fractions, or type the Unicode name or code).
- Scroll up, then click the button in the top-right corner to open the full Character Viewer.
When you find the character, click it to insert it into the text.
If the full Character Viewer is open on the desktop, you may need to double-click the character. The Character Viewer always opens in the state it was in when it was last closed. If it’s expanded and you want it to be in pop-up view the next time you open it, click the button in the top-right corner to close the expanded view.
For more information about using the Character Viewer, click the desktop to switch to the Finder, choose Help > Mac Help (from the Help menu at the top of your screen), then search for "character viewer."
Use the Fonts window for advanced typography
Certain fonts support advanced typographical features such as ligatures, alternate glyphs, old-style figures, and more. You can adjust these options using the Fonts window.
- Choose Format > Font > Show Fonts (from the Format menu at the top of your screen).
- Click
 in the Fonts window and choose Typography.
 Select the text you want to change . To change all of the text in a text box, select the text box.
Note: To change individual glyphs, you must select the specific characters to be changed.
Choose from the available options in the Typography window.


