Table of Contents
Apply generator effects
The effects in the Generator category generate various objects and geometric patterns on your selected layer.
Apply a Generator effect to an image
Generator effects can be applied directly to a single layer or, using an effects layer, to multiple layers in a composition.
To add Generator effect to the currently selected layer, do one of the following:
- Choose Format > Effects > Generator (from the Format menu at the top of your screen) and choose the Generator effect you want.
- Click
 in the
Tools sidebar, then click Add Effect and add the Generator effect you want.
in the
Tools sidebar, then click Add Effect and add the Generator effect you want. - Press on your keyboard, click Add Effect and add the Generator effect you want.
To apply Generator effect to multiple layers in a composition using an effects layer (all layers below this layer will be affected):
- Choose Insert > Effects(from the Insert menu at the top of your screen), click Add Effect in the Tool Options pane and add the Generator effect you want.
- Click
 at the top of the
Layers sidebar, choose Effects, click Add Effect in the Tool Options pane and add the Generator effect you want.
at the top of the
Layers sidebar, choose Effects, click Add Effect in the Tool Options pane and add the Generator effect you want. - Press + + on your keyboard, click Add Effect in the Tool Options pane, and add the Generator effect you want.
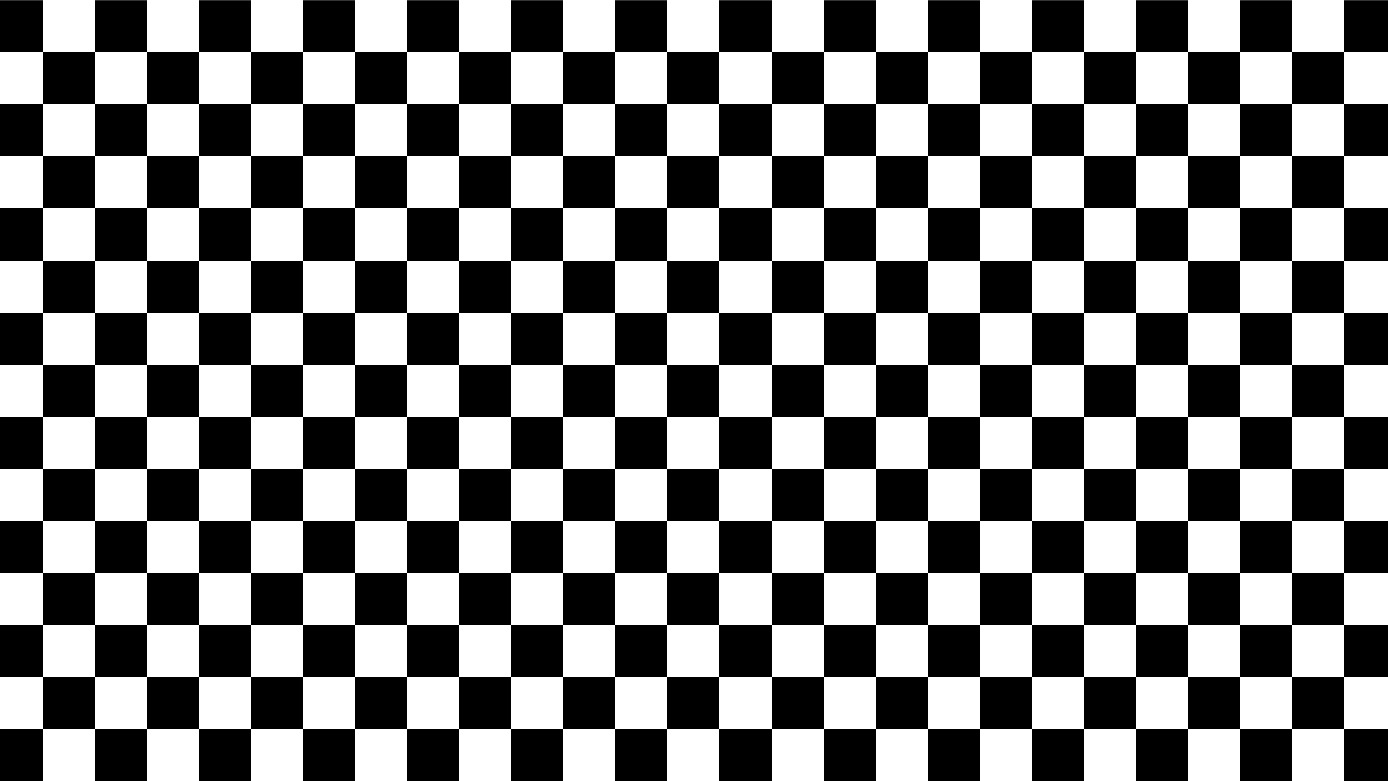
Apply a Checkerboard effect
The Checkerboard effect fills your selected layer with a checkerboard pattern.
Customize the effect:
Click the Color 1 color well to choose a color for one set of squares on the board. You can also press and hold the key on your keyboard to quickly pick a color from the image.
Click the Color 2 color well to choose a color for the other set of squares on the board. You can also press and hold the key on your keyboard to quickly pick a color from the image.
Move the Width slider to adjust the size of the squares in the pattern. You can also enter a value from 0.0 px to 800.0 px.
Move the Sharpness slider to adjust the sharpness of the squares. You can also enter a value from 0% to 100%.
Move the Opacity slider to adjust the transparency of the pattern. Click the Opacity (Normal) pop-up menu to choose a different blend mode.
Move the handles of the effect rope to adjust the position of the checkerboard. If the effect rope isn’t visible, click the rope button in the Tool Options pane.
Show Original: Click the Show Original button or press + on your keyboard to see what the image looks like without any effects.
Show Split Comparison: – click the Show Original button, press + on your keyboard, or force click the canvas.
To reset all effects, click Reset at the bottom of the Tool Options pane.
To preserve layer transparency when applying the Checkerboard effect, click the effect name in the Tool Options pane and choose Preserve Transparency.
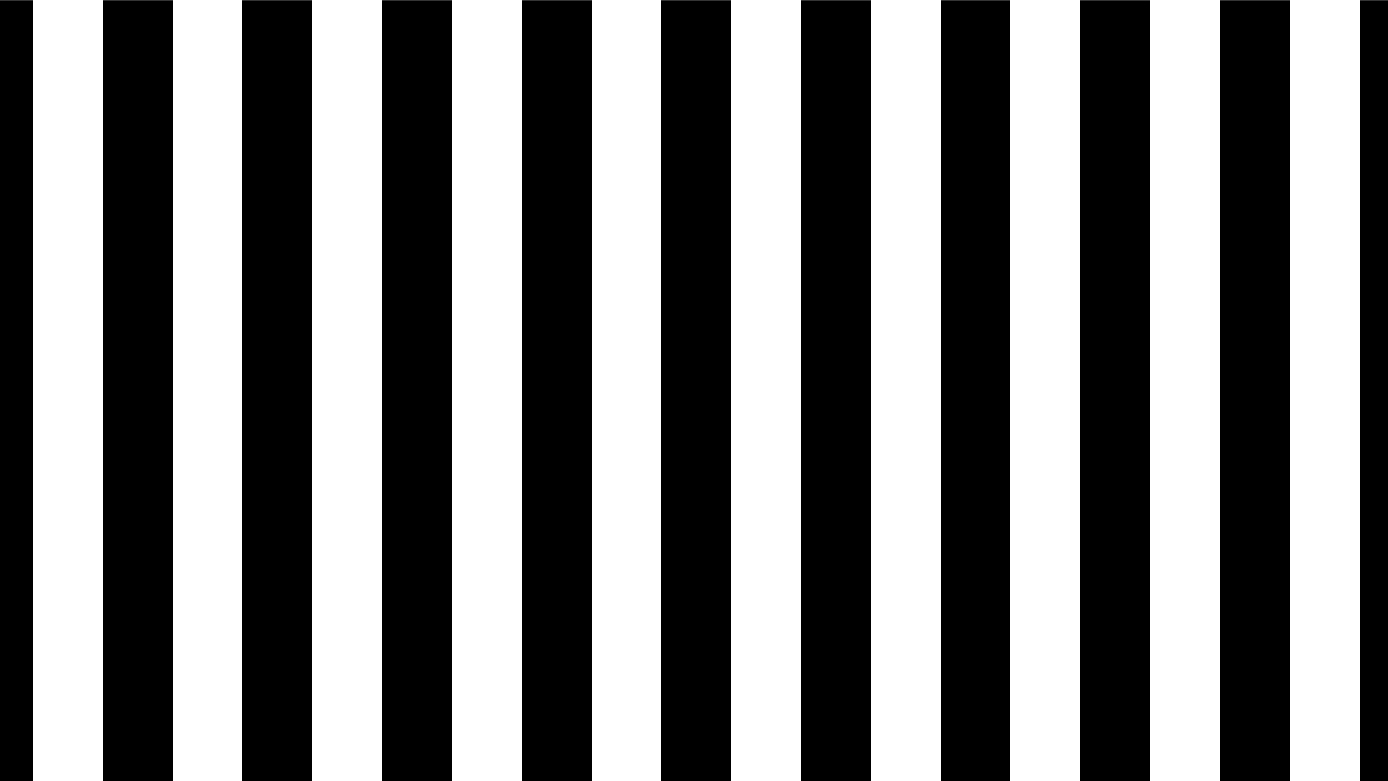
Apply a Stripes effect
The Stripes effect fills your selected layer with a customizable stripe pattern.
Customize the effect:
Click the Color 1 color well to choose a color for one set of stripes. You can also press and hold the key on your keyboard to quickly pick a color from the image.
Click the Color 2 color well to choose a color for the other set of stripes. You can also press and hold the key on your keyboard to quickly pick a color from the image.
Move the Width slider to adjust the width of the stripes in the pattern. You can also enter a value from 0.0 px to 800.0 px.
Move the Sharpness slider to adjust the sharpness of the stripes. You can also enter a value from 0% to 100%.
Move the Opacity slider to adjust the transparency of the pattern. Click the Opacity (Normal) pop-up menu to choose a different blend mode.
Move the handles of the effect rope to adjust the position of the stripes. If the effect rope isn’t visible, click the rope button in the Tool Options pane.
Show Original: Click the Show Original button or press + on your keyboard to see what the image looks like without any effects.
Show Split Comparison: – click the Show Original button, press + on your keyboard, or force click the canvas.
To reset all effects, click Reset at the bottom of the Tool Options pane.
To preserve layer transparency when applying the Stripes effect, click the effect name in the Tool Options pane and choose Preserve Transparency.
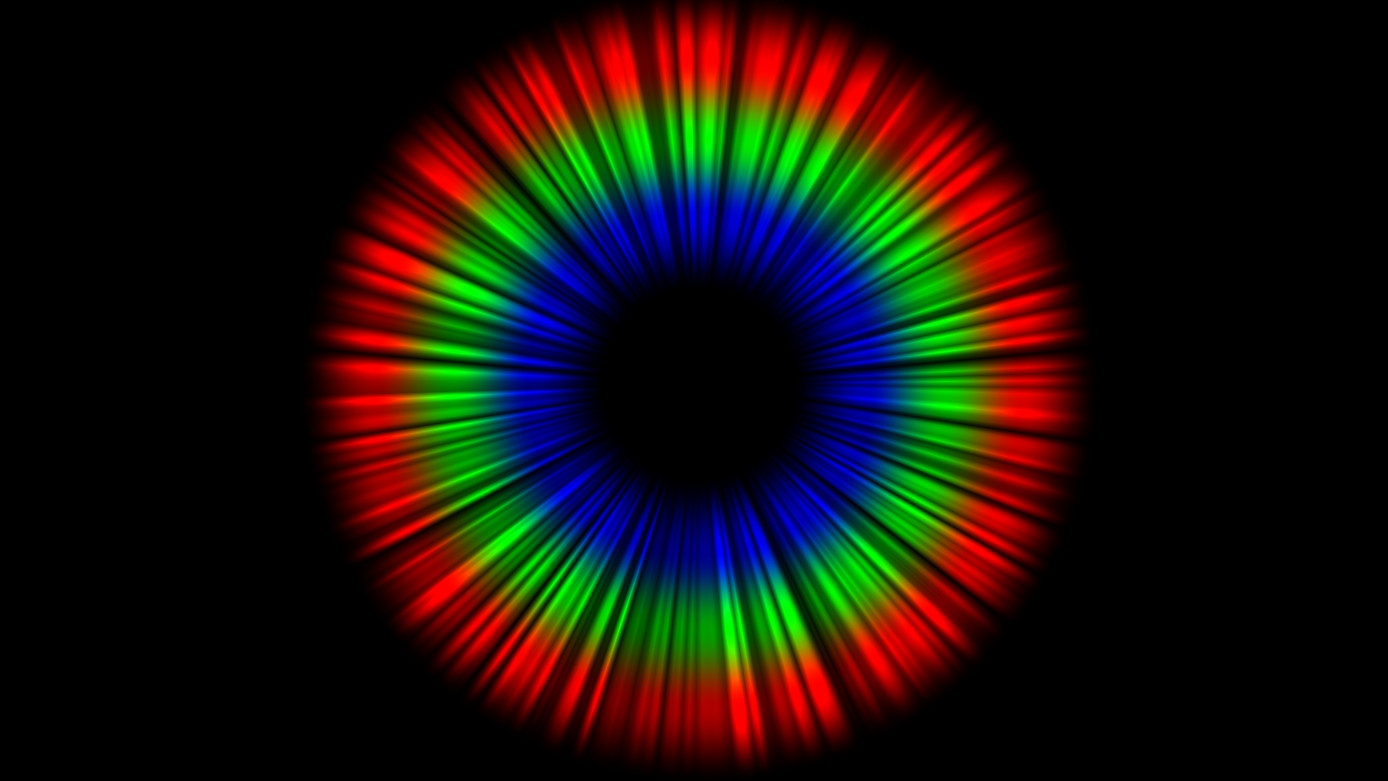
Apply a Halo effect
The Halo effect adds a rainbow-colored, customizable halo on your selected layer.
Customize the effect:
Click the Color color well to choose a color — the color you choose controls how much of the colors red, green, and blue should be in the halo. Picking pure red will result in the halo having only red and so on. Pure white will mean the halo has an equal mix of red, green, and blue. You can also press and hold the key on your keyboard to quickly pick a color from the image.
Move the Halo Radius slider to adjust the overall size of the halo. You can also enter a value from 0.0 px to 1000.0 px.
Move the Halo Width slider to adjust the overall width of the halo. You can also enter a value from 0.0 px to 300.0 px.
Move the Halo Overlap slider to adjust how much each of the red, green, and blue halos overlap. You can also enter a value from 0% to 100%.
Move the Striation Strength slider to adjust the intensity of the colors in the halo. You can also enter a value from 0% to 300%.
Move the Striation Contrast slider to adjust the contrast of the colors in the halo. You can also enter a value from 0% to 500%.
Move the Time slider to regenerate the halo pattern. You can also enter a value from 0% to 100%.
Move the Opacity slider to adjust the transparency of the halo. Click the Opacity (Normal) pop-up menu to choose a different blend mode.
Move the handles of the effect rope to adjust the position of the halo. If the effect rope isn’t visible, click the rope button in the Tool Options pane.
Show Original: Click the Show Original button or press + on your keyboard to see what the image looks like without any effects.
Show Split Comparison: – click the Show Original button, press + on your keyboard, or force click the canvas.
To reset all effects, click Reset at the bottom of the Tool Options pane.
To preserve layer transparency when applying the Halo effect, click the effect name in the Tool Options pane and choose Preserve Transparency.
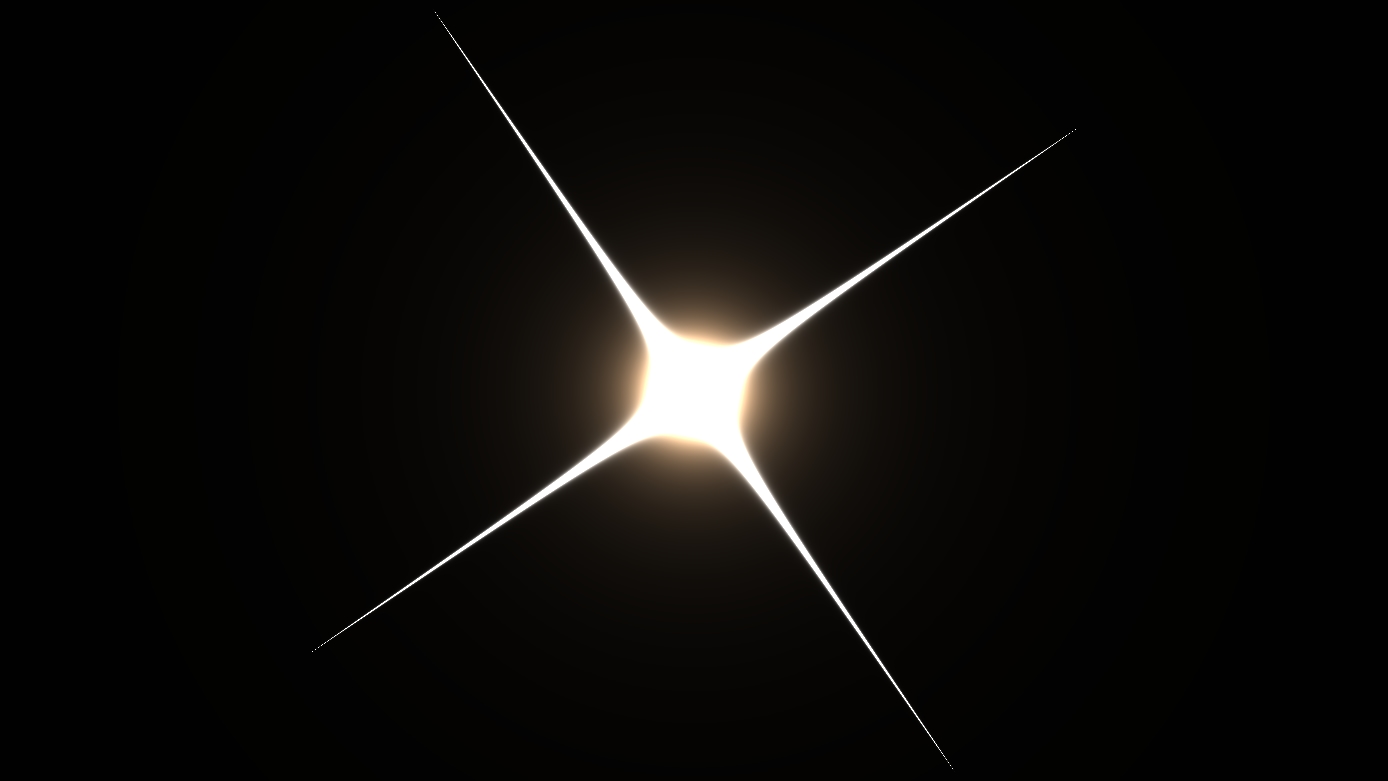
Apply a Star effect
The Star effect generates a supernova-like starburst on your selected layer.
Customize the effect:
Click the Color color well to choose a color for the outer shell of the starburst. You can also press and hold the key on your keyboard to quickly pick a color from the image.
Move the Radius slider to adjust the overall size of the star. You can also enter a value from 0.0 px to 300.0 px.
Move the Cross Scale slider to adjust the size of the cross pattern. You can also enter a value from 0% to 10000%.
Move the Cross Angle wheel to adjust the angle of the cross pattern. You can also enter a value from 0.0º to 359.9º.
Move the Cross Opacity slider to adjust the transparency of the cross pattern. You can also enter a value from -800% to 0%.
Move the Cross Width slider to adjust the width of the cross pattern. You can also enter a value from 0% to 300%.
Move the Epsilon slider to adjust the length of the cross spikes. You can also enter a value from -800% to 0%.
Move the Opacity slider to adjust the transparency of the effect. Click the Opacity (Normal) pop-up menu to choose a different blend mode.
Move the handles of the effect rope to adjust the position of the star. If the effect rope isn’t visible, click the rope button in the Tool Options pane.
Show Original: Click the Show Original button or press + on your keyboard to see what the image looks like without any effects.
Show Split Comparison: – click the Show Original button, press + on your keyboard, or force click the canvas.
To reset all effects, click Reset at the bottom of the Tool Options pane.
To preserve layer transparency when applying the Star effect, click the effect name in the Tool Options pane and choose Preserve Transparency.
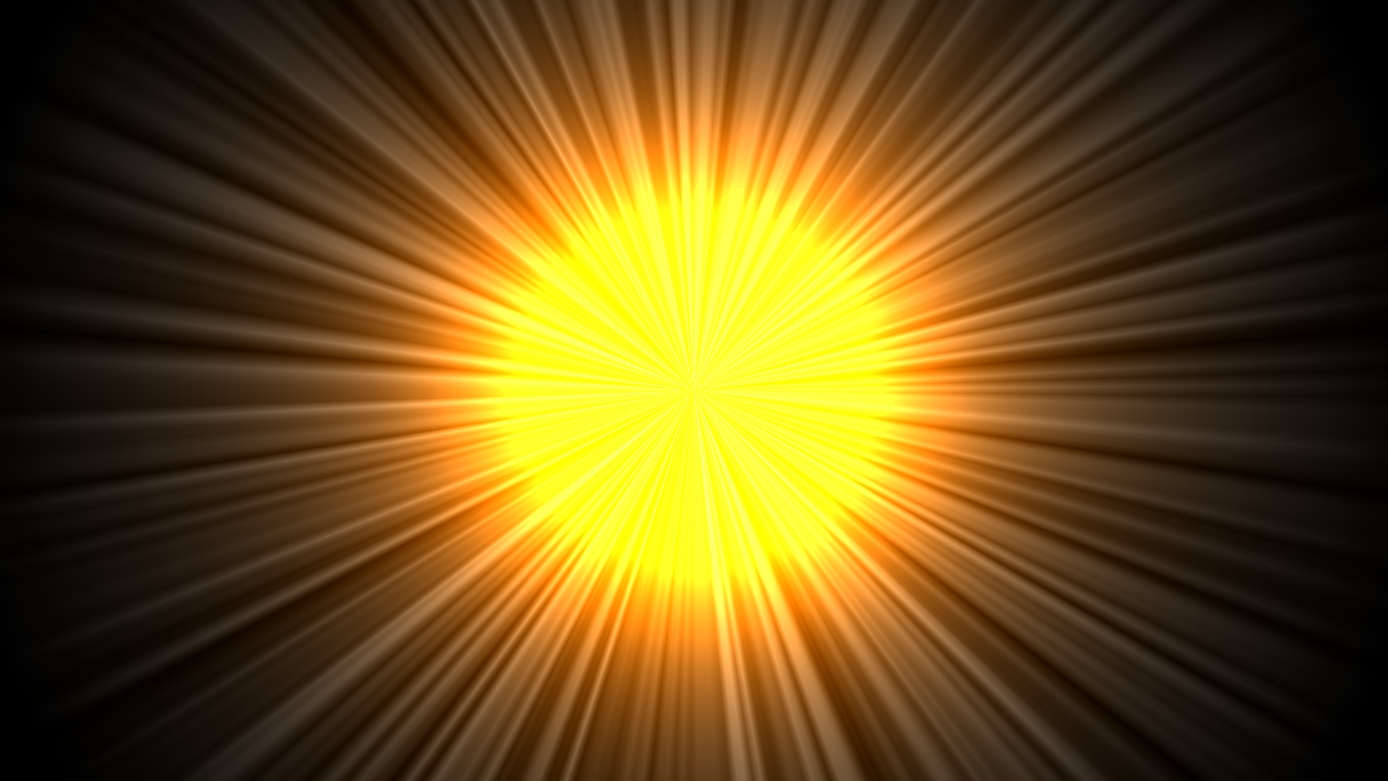
Apply a Sunbeams effect
The Sunbeams effect adds a customizable sun on your selected layer.
Customize the effect:
Click the Color color well to choose a color for the sun. You can also press and hold the key on your keyboard to quickly pick a color from the image.
Move the Sun Radius slider to adjust the overall size of the sun. You can also enter a value from 0.0 px to 800.0 px.
Move the Maximum Striation Radius slider to adjust the size of the sunbeams. You can also enter a value from 0% to 1000%.
Move the Striation Strength slider to adjust the intensity of the sunbeams. You can also enter a value from 0% to 300%.
Move the Striation Contrast slider to adjust the contrast of the sunbeams. You can also enter a value from 0% to 500%.
Move the Time slider to regenerate the sun pattern. You can also enter a value from 0% to 100%.
Move the Opacity slider to adjust the transparency of the sun. Click the Opacity (Normal) pop-up menu to choose a different blend mode.
Move the handles of the effect rope to adjust the position of the sun. If the effect rope isn’t visible, click the rope button in the Tool Options pane.
Show Original: Click the Show Original button or press + on your keyboard to see what the image looks like without any effects.
Show Split Comparison: – click the Show Original button, press + on your keyboard, or force click the canvas.
To reset all effects, click Reset at the bottom of the Tool Options pane.
To preserve layer transparency when applying the Sunbeams effect, click the effect name in the Tool Options pane and choose Preserve Transparency.
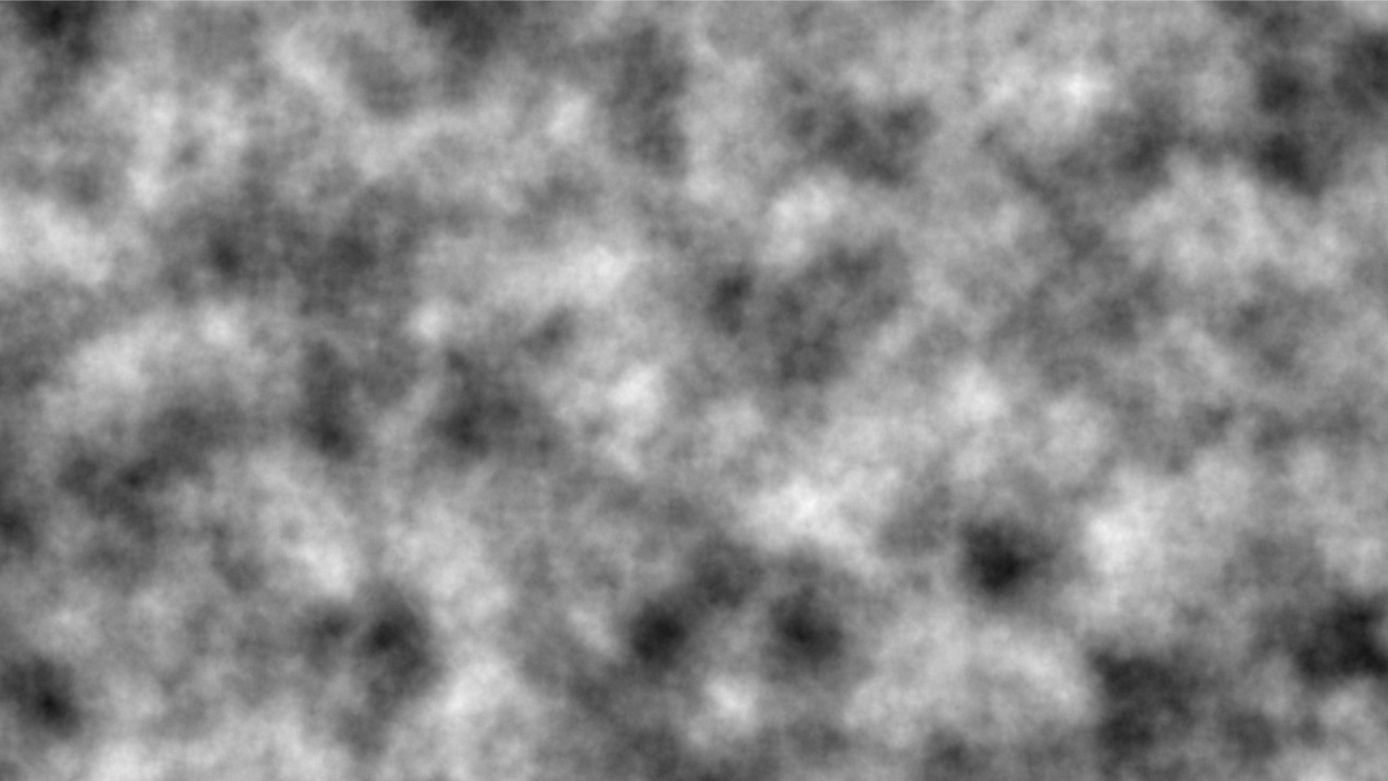
Apply a Clouds effect
The Cloud effect generates a soft cloud pattern on your selected layer.
Customize the effect:
Click the Foreground Color color well to choose a color for the brightest areas of the clouds. You can also press and hold the key on your keyboard to quickly pick a color from the image.
Click the Background Color color well to choose a color for shadow areas of the clouds. You can also press and hold the key on your keyboard to quickly pick a color from the image.
Move the Width slider to adjust the size of the cloud pattern. You can also enter a value from 0% to 1000%.
Move the Opacity slider to adjust the transparency of the cloud pattern. Click the Opacity (Normal) pop-up menu to choose a different blend mode.
Show Original: Click the Show Original button or press + on your keyboard to see what the image looks like without any effects.
Show Split Comparison: – click the Show Original button, press + on your keyboard, or force click the canvas.
To reset all effects, click Reset at the bottom of the Tool Options pane.
To preserve layer transparency when applying the Clouds effect, click the effect name in the Tool Options pane and choose Preserve Transparency.
