Table of Contents
Apply stylize effects
The effects in the Stylize category apply differrent artistic effects to your selected layer.
Stylize an image
Stylize effects can be applied directly to a single layer or, using an effects layer, to multiple layers in a composition.
To stylize the currently selected layer, do one of the following:
- Choose Format > Effects > Stylize (from the Format menu at the top of your screen) and choose the Stylize effect you want.
- Click
 in the
Tools sidebar, then click Add Effect and add the Stylize effect you want.
in the
Tools sidebar, then click Add Effect and add the Stylize effect you want. - Press on your keyboard, click Add Effect and add the Stylize effect you want.
To sharpen multiple layers in a composition using an effects layer (all layers below this layer will be affected):
- Choose Insert > Effects (from the Insert menu at the top of your screen), click Add Effect in the Tool Options pane and add the Stylize effect you want.
- Click
 at the top of the
Layers sidebar, choose Effects, click Add Effect in the Tool Options pane and add the Stylize effect you want.
at the top of the
Layers sidebar, choose Effects, click Add Effect in the Tool Options pane and add the Stylize effect you want. - Press + + on your keyboard, click Add Effect in the Tool Options pane and add the Stylize effect you want.
Apply a Light Leak effect
The Light Leak effect imitates the look and feel of vintage analog photography by adding artistic glares.
Customize the effect:
Choose a light leak style — Nebula, Arcturus, Rigel, Taurus, Orion, Lyra, Vega, or Pavo.
Move the Amount slider to adjust the visibility of the light leak. You can also enter a value from 0% to 100%.
Move the Sunniness slider to add warmth to the effect. You can also enter a value from 0% to 100%.
Move the handle of the effect rope to position the effect on your image. Drag the handle of the outer circle to scale the effect up, scale it down, or rotate it.

Show Original: Click the Show Original button or press + on your keyboard to see what the image looks like without any effects.
Show Split Comparison: – click the Show Original button, press + on your keyboard, or force click the canvas.
To reset all effects, click Reset at the bottom of the Tool Options pane.
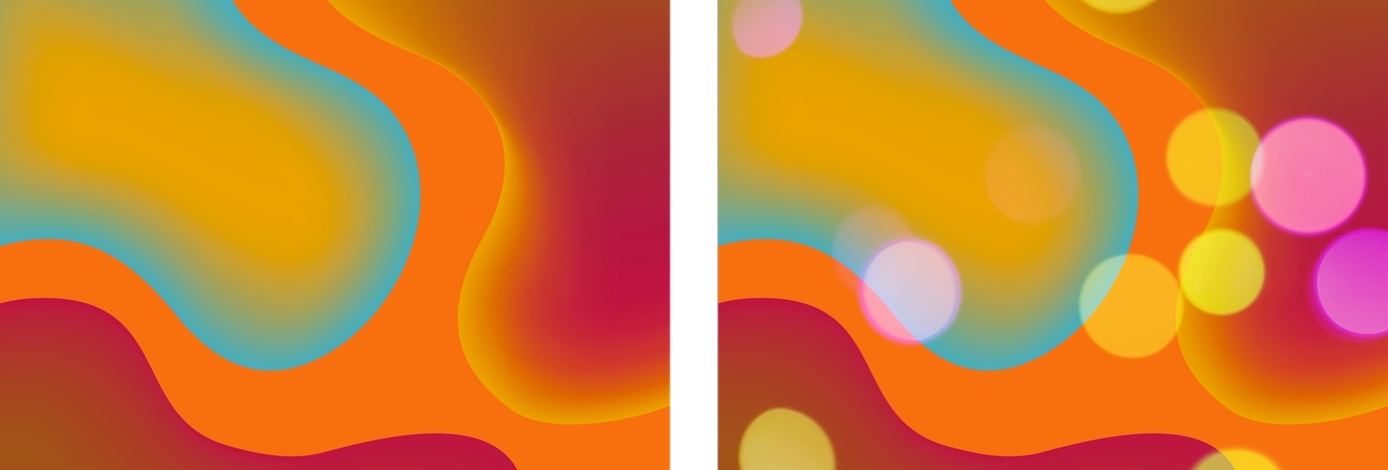
Apply a Bokeh effect
The Bokeh effect adds artistic, colorful bokeh shapes to an image.
Customize the effect:
Choose a bokeh style — Magnolia, Amber, Emerald, Apricot, Ruby, Celeste, Ivory, or Amethyst.
Move the Amount slider to adjust the visibility of the bokeh. You can also enter a value from 0% to 100%.
Rotate the Hue wheel to adjust the color of the bokeh. You can also enter a value from 0.0º to 359.9º.
Move the handle of the effect rope to position the effect on your image. Drag the handle of the outer circle to scale the effect up, scale it down, or rotate it.
Show Original: Click the Show Original button or press + on your keyboard to see what the image looks like without any effects.
Show Split Comparison: – click the Show Original button, press + on your keyboard, or force click the canvas.
To reset all effects, click Reset at the bottom of the Tool Options pane.
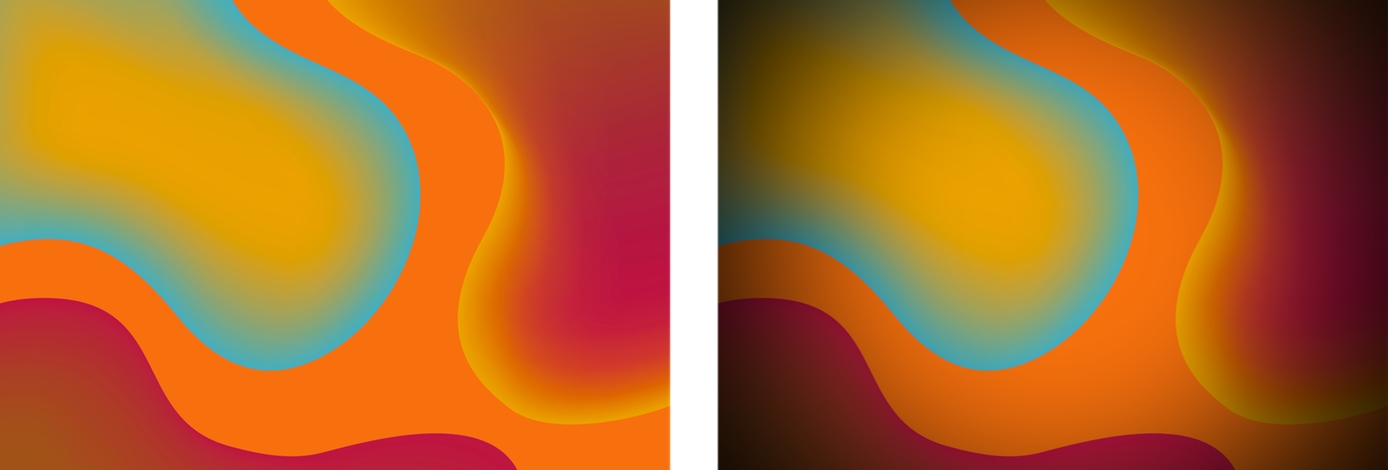
Apply a Vignette effect
The Vignette effect gradually darkens the outer edges of your selected layer, drawing attention to the center.
Customize the effect:
Move the Radius slider to adjust how much of the image should be darkened. You can also enter a value from 0% to 100%.
Move the Intensity slider to change the strength of the vignetting effect (moving it into negative values will brighten the edges instead of darkening them). You can also enter a value from -100% to 100%.
Move the Falloff slider to adjust how gradually the edges should darken. You can also enter a value from 0% to 100%.
Move the handle of the effect rope to choose where the vignette should be centered around. If the effect rope isn’t visible, click the rope button in the Tool Options pane.
Show Original: Click the Show Original button or press + on your keyboard to see what the image looks like without any effects.
Show Split Comparison: – click the Show Original button, press + on your keyboard, or force click the canvas.
To reset all effects, click Reset at the bottom of the Tool Options pane.
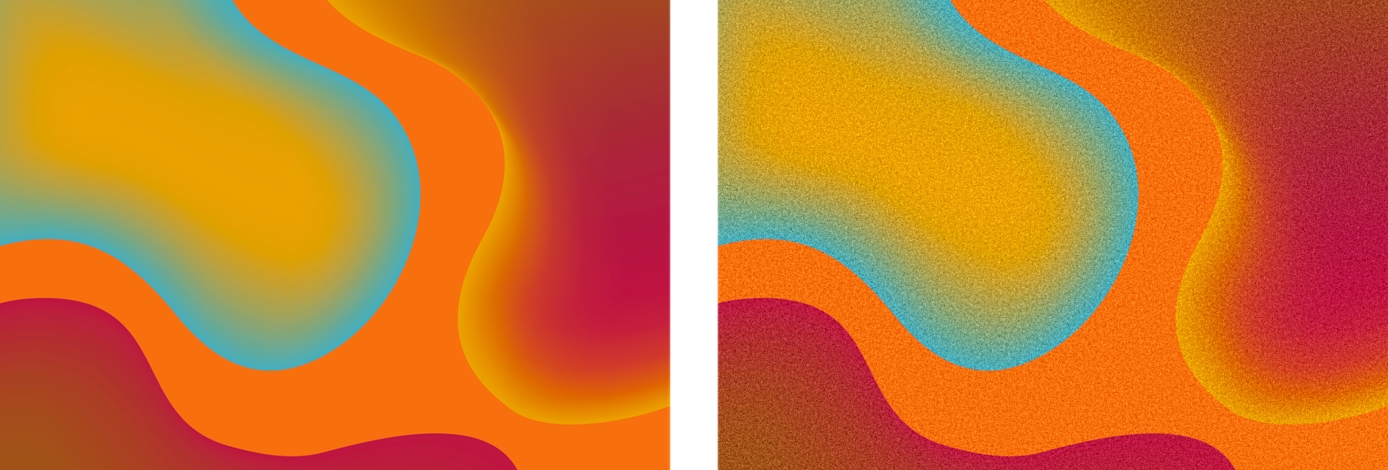
Apply a Grain effect
The Grain effect emulates the look of analog film. You can use it to add some film grain to digital images.
Customize the effect:
Move the Intensity slider to adjust the visibility of the grain particles. You can also enter a value from 0% to 100%.
Move the Size slider to adjust the size of the grain particles. You can also enter a value from 0% to 100%.
Show Original: Click the Show Original button or press + on your keyboard to see what the image looks like without any effects.
Show Split Comparison: – click the Show Original button, press + on your keyboard, or force click the canvas.
To reset all effects, click Reset at the bottom of the Tool Options pane.
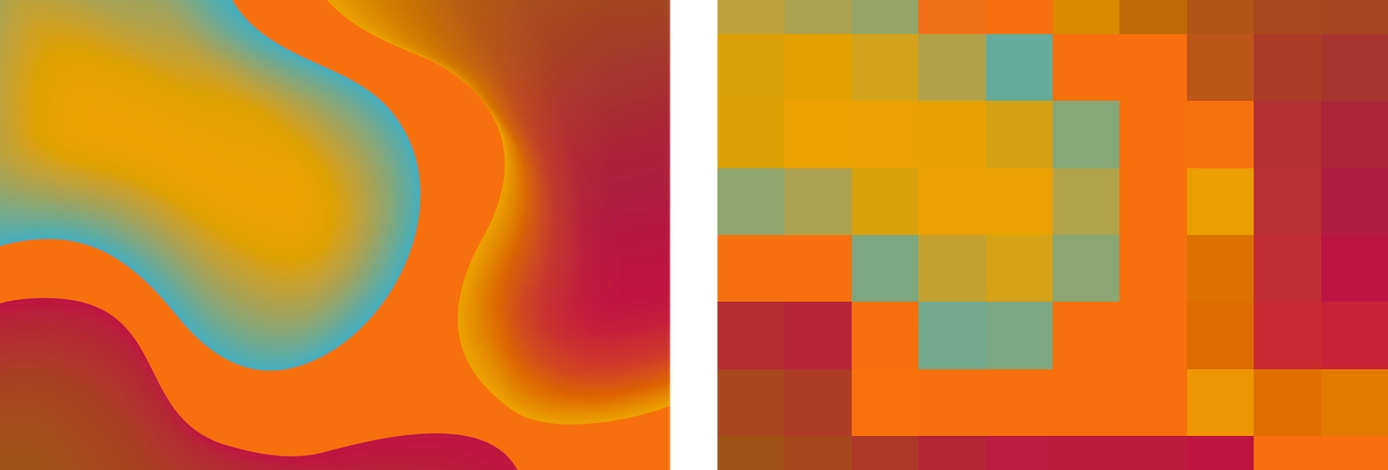
Apply a Pixelate effect
The Pixelate effect pixelates your selected layer, recreating the look of early digital graphics and games.
Customize the effect:
Move the Scale slider to adjust the size of the pixel blocks used to create the effect. You can also enter a value from 1.0 px to 100.0 px.
Move the handle of the effect rope to choose where to place the new pixel blocks. If the effect rope isn’t visible, click the rope button in the Tool Options pane.
Show Original: Click the Show Original button or press + on your keyboard to see what the image looks like without any effects.
Show Split Comparison: – click the Show Original button, press + on your keyboard, or force click the canvas.
To reset all effects, click Reset at the bottom of the Tool Options pane.
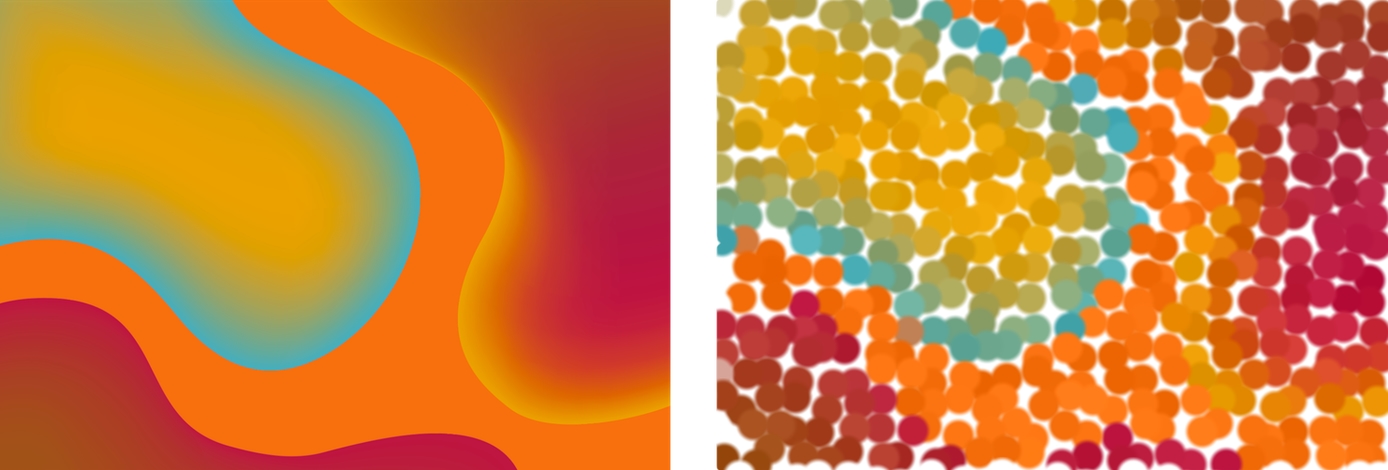
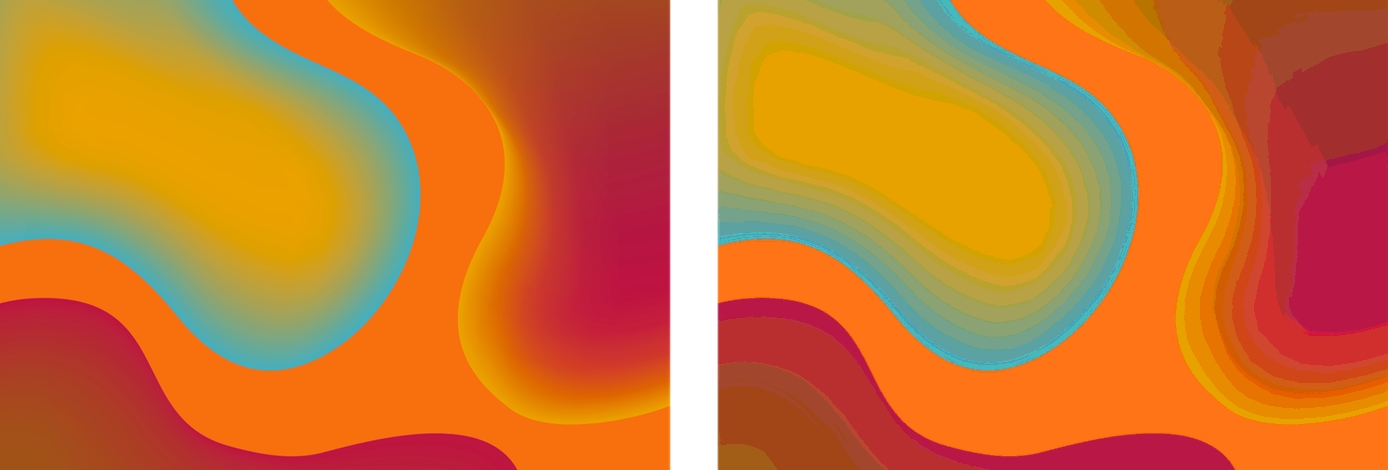
Apply a Pointillize effect
The Pointillize effect transforms your selected layer into a pointillist painting.
Customize the effect:
Move the Radius slider to adjust the size of the points used to create the effect. You can also enter a value from 1.0 px to 100.0 px.
Move the handle of the effect rope to adjust the position of the points. If the effect rope isn’t visible, click the rope button in the Tool Options pane.
Show Original: Click the Show Original button or press + on your keyboard to see what the image looks like without any effects.
Show Split Comparison: – click the Show Original button, press + on your keyboard, or force click the canvas.
To reset all effects, click Reset at the bottom of the Tool Options pane.
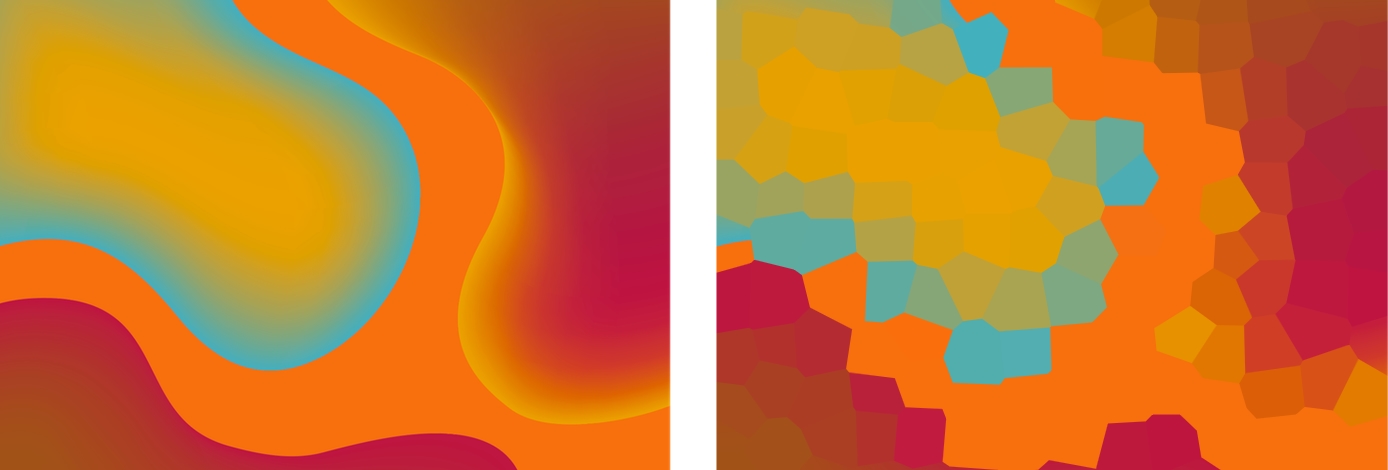
Apply a Crystallize effect
The Crystallize effect recreates your selected layer using crystal-shaped blocks.
Customize the effect:
Move the Radius slider to adjust the size of the crystals used to create the effect. You can also enter a value from 1.0 px to 100.0 px.
Move the handle of the effect rope to adjust the position of the crystals. If the effect rope isn’t visible, click the rope button in the Tool Options pane.
Show Original: Click the Show Original button or press + on your keyboard to see what the image looks like without any effects.
Show Split Comparison: – click the Show Original button, press + on your keyboard, or force click the canvas.
To reset all effects, click Reset at the bottom of the Tool Options pane.
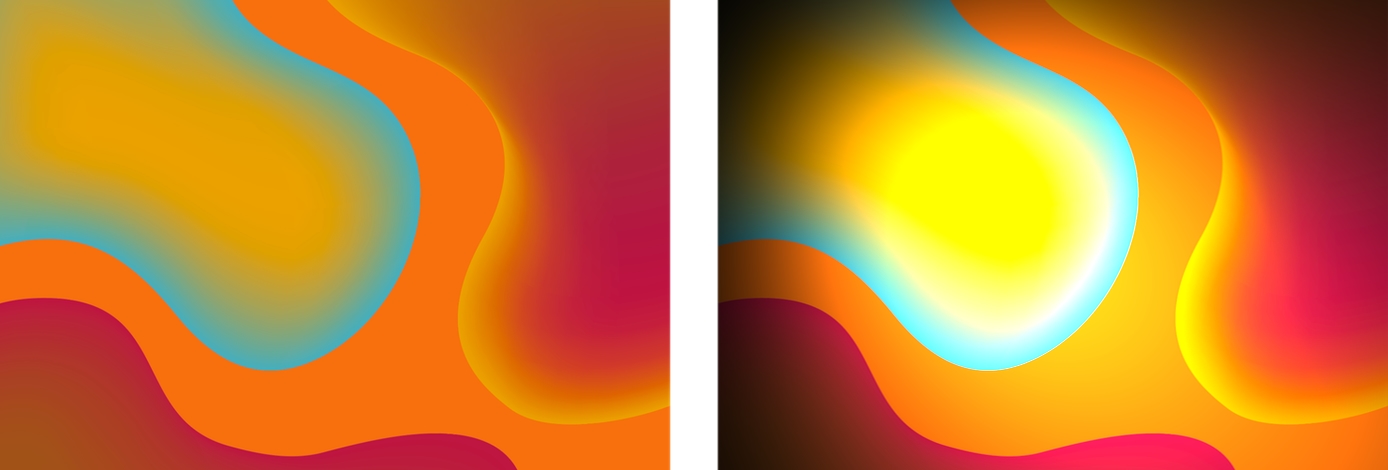
Apply a Spot Light effect
The Spot Light effect adds an adjustable spotlight to your selected layer, which illuminates a precise area while darkening everything that falls outside the spotlight.
Customize the effect:
Move the Radius slider to adjust how large an area should be illuminated. You can also enter a value from 0.0 px to 1000.0 px.
Move the Distance slider to adjust how far the light should fall from the target. You can also enter a value from 0.0 px to 400.0 px.
Move the Brightness slider to adjust the brightness of the light. You can also enter a value from 0% to 1000%.
Move the Concentration slider to adjust how concentrated the light should be. You can also enter a value from 0% to 100%.
Click the Light Color color well to choose a color for the light using the Colors window or click the Color Picker next to the color well and click to pick a color from your image.
Click the Background Color color well to choose a color for the shadows using the Colors window or click the Color Picker next to the color well and click to pick a color from your image.
Move the handles of the effect rope to adjust the position of the light source and its target. If the effect rope isn’t visible, click the rope button in the Tool Options pane.
Show Original: Click the Show Original button or press + on your keyboard to see what the image looks like without any effects.
Show Split Comparison: – click the Show Original button, press + on your keyboard, or force click the canvas.
To reset all effects, click Reset at the bottom of the Tool Options pane.
To preserve layer transparency when applying the Spot Light effect, click the effect name in the Tool Options pane and choose Preserve Transparency.
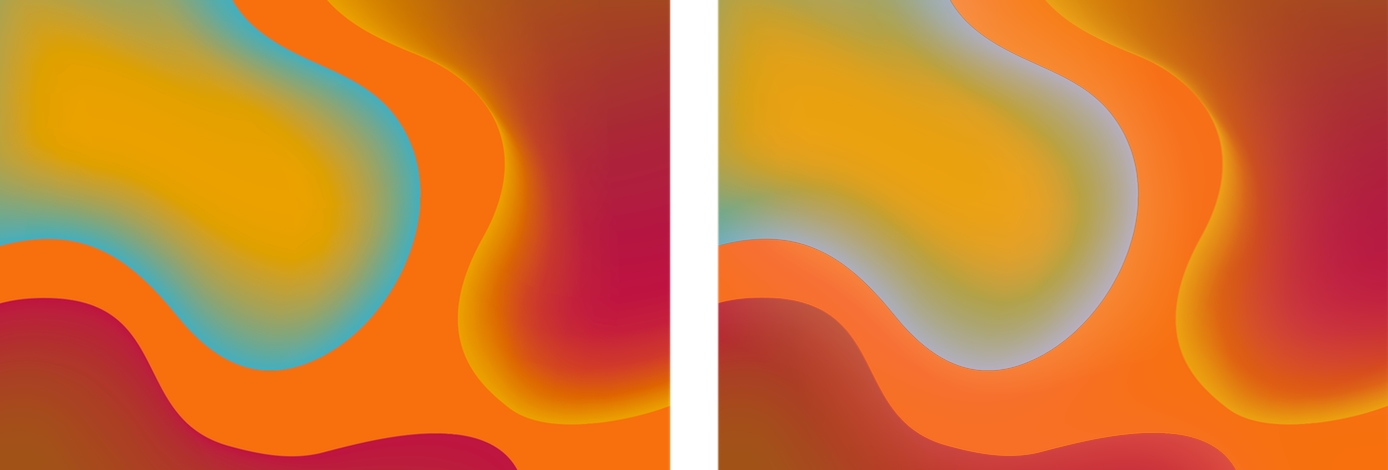
Apply a Bloom effect
The Bloom effect softens edges and applies an ethereal glow to your selected layer.
Customize the effect:
Move the Radius slider to adjust how large an area around any edges should be affected. You can also enter a value from 0.0 px to 100.0 px.
Move the Intensity slider to adjust the strength of the effect. You can also enter a value from 0% to 100%.
Show Original: Click the Show Original button or press + on your keyboard to see what the image looks like without any effects.
Show Split Comparison: – click the Show Original button, press + on your keyboard, or force click the canvas.
To reset all effects, click Reset at the bottom of the Tool Options pane.
To preserve layer transparency when applying the Bloom effect, click the effect name in the Tool Options pane and choose Preserve Transparency.
Apply a Gloom effect
The Gloom effect dulls highlights and applies a dark and gloomy glow to your selected layer.
Customize the effect:
Move the Radius slider to adjust how large an area around any edges should be affected. You can also enter a value from 0.0 px to 100.0 px.
Move the Intensity slider to adjust the strength of the effect. You can also enter a value from 0% to 100%.
Show Original: Click the Show Original button or press + on your keyboard to see what the image looks like without any effects.
Show Split Comparison: – click the Show Original button, press + on your keyboard, or force click the canvas.
To reset all effects, click Reset at the bottom of the Tool Options pane.
To preserve layer transparency when applying the Gloom effect, click the effect name in the Tool Options pane and choose Preserve Transparency.
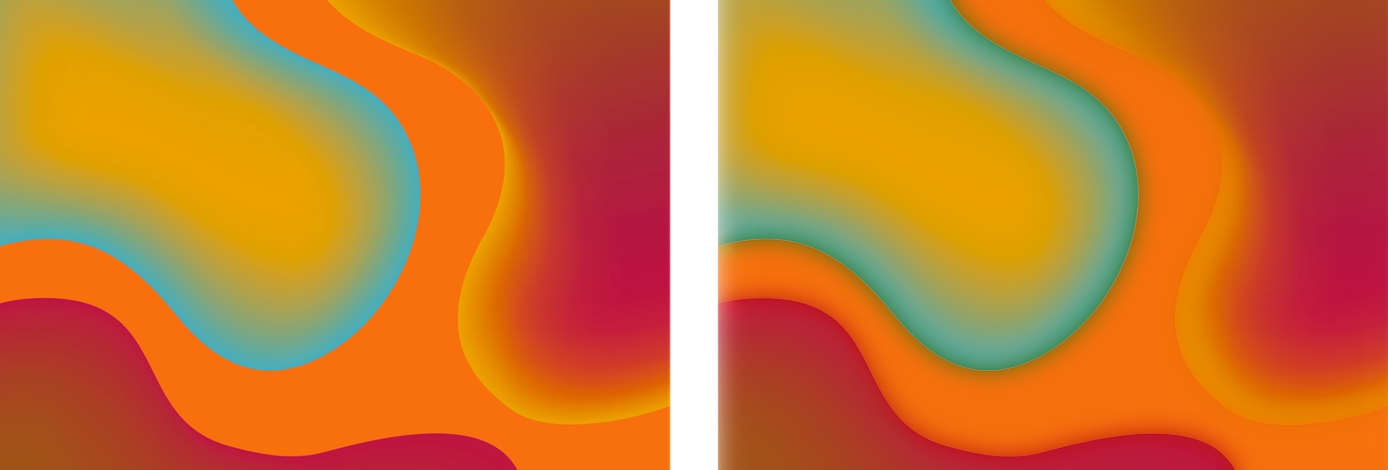
Apply a Posterize effect
The Posterize effect recreates your selected layer using fewer colors, emulating the look of a silk-screen poster.
- Move the Levels slider to choose how many brightness levels should be used for each color (red, green, and blue) that makes up an image. At 2 levels, the image will be recreated using 9 colors. You can also enter a value from 2 to 30.
Show Original: Click the Show Original button or press + on your keyboard to see what the image looks like without any effects.
Show Split Comparison: – click the Show Original button, press + on your keyboard, or force click the canvas.
To reset all effects, click Reset at the bottom of the Tool Options pane.
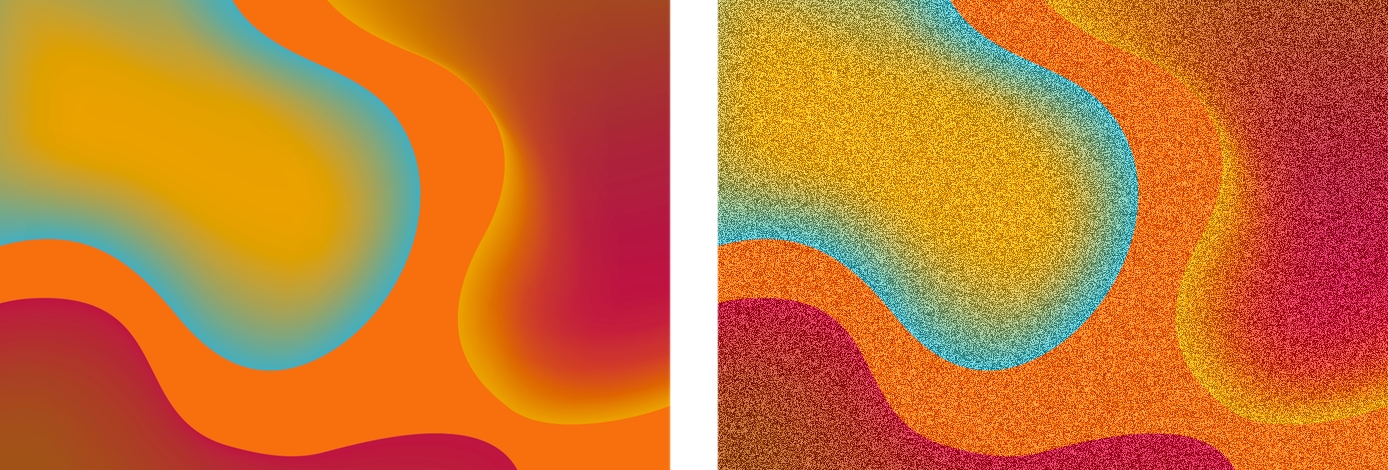
Apply a Noise effect
The Noise effect adds colored or monochrome digital noise to an image.
Customize the effect:
Move the Amount slider to adjust the visibility of the noise. You can also enter a value from 0% to 100%.
Select Monochrome to make the noise black and white or deselect it to add colored noise.
Show Original: Click the Show Original button or press + on your keyboard to see what the image looks like without any effects.
Show Split Comparison: – click the Show Original button, press + on your keyboard, or force click the canvas.
To reset all effects, click Reset at the bottom of the Tool Options pane.
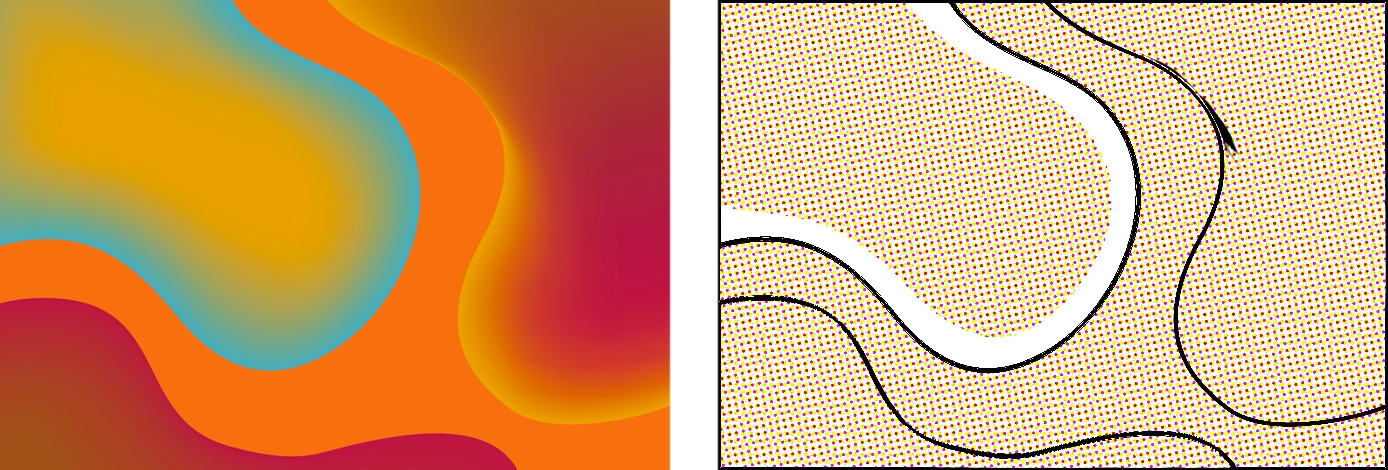
Apply a Comics effect
The Comics effect simulates a comic book drawing by outlining edges and applying a color halftone effect.
You can also apply the Comics effect by choosing Format > Effects > Stylize > Comics (from the Format menu at the top of your screen).
Show Original: Click the Show Original button or press + on your keyboard to see what the image looks like without any effects.
Show Split Comparison: – click the Show Original button, press + on your keyboard, or force click the canvas.
To reset all effects, click Reset at the bottom of the Tool Options pane.
To preserve layer transparency when applying the Comics effect, click the effect name in the Tool Options pane and choose Preserve Transparency.

