Table of Contents
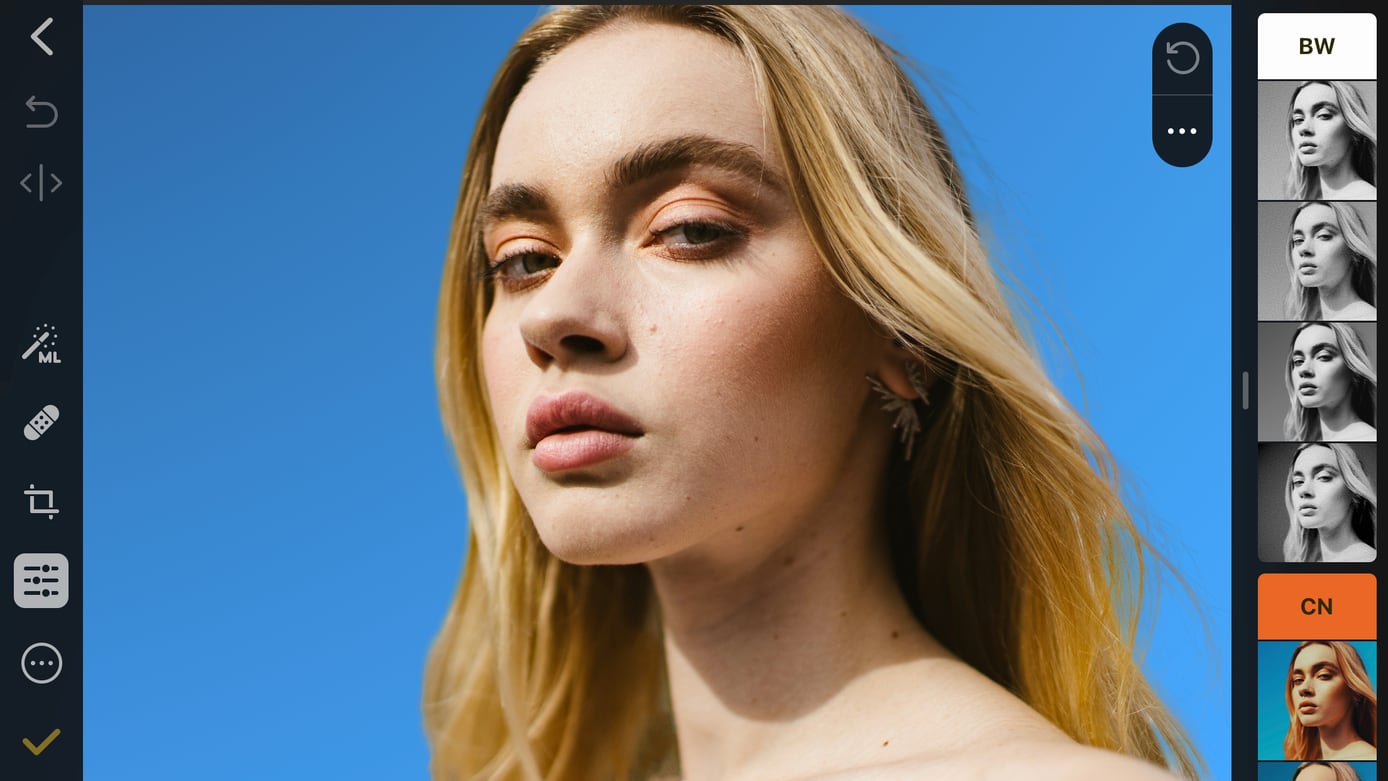
Color adjustment presets
The Color Adjustments tool features a set of color adjustment presets you can use to instantly add a unique look and feel to your photo. The presets are organized into 6 main groups: Black and White, Cinematic, Classic Films, Landscape, Night, and Custom, where you can save the presets you've created yourself. When you create a preset in Photomator, it will also show up in Recents, where you'll find presets automatically generated using the adjustments settings from your recently edited photos.
When you apply a preset, it moves the sliders in the Color Adjustments pane to adjust the colors of a photo. You can always fine-tune the adjustments, turn some of them off, or apply different ones.
You can also redefine the already existing presets, or create your own.

Apply a preset
To apply one of the color adjustment presets:
Tap
 in the toolbar at the top of the screen.
Scroll the preset categories to find a look you like, and tap the preset thumbnail to apply it.
Tip: You can mix and match different presets by locking the individual color adjustments that comprise them. For instance, if you like how the colors are balanced in one of the Cinematic presets, you can tap the padlock icon next to the Selective Color adjustment to lock it, then freely apply any other preset from any group without affecting the Selective Color.
Turn off a preset
To turn off a preset:
Tap
in the toolbar at the top of the screen.Tap the applied preset in the list of presets. This resets any of the previously applied color adjustments.
Important: If you continue editing the colors of your photo after you've applied a preset, you won't be able to turn it off by deselecting it in the list of presets. To remove an already edited preset, you'll want to reset all color adjustments to default. See About color adjustments to learn more.
Organize and manage preset groups
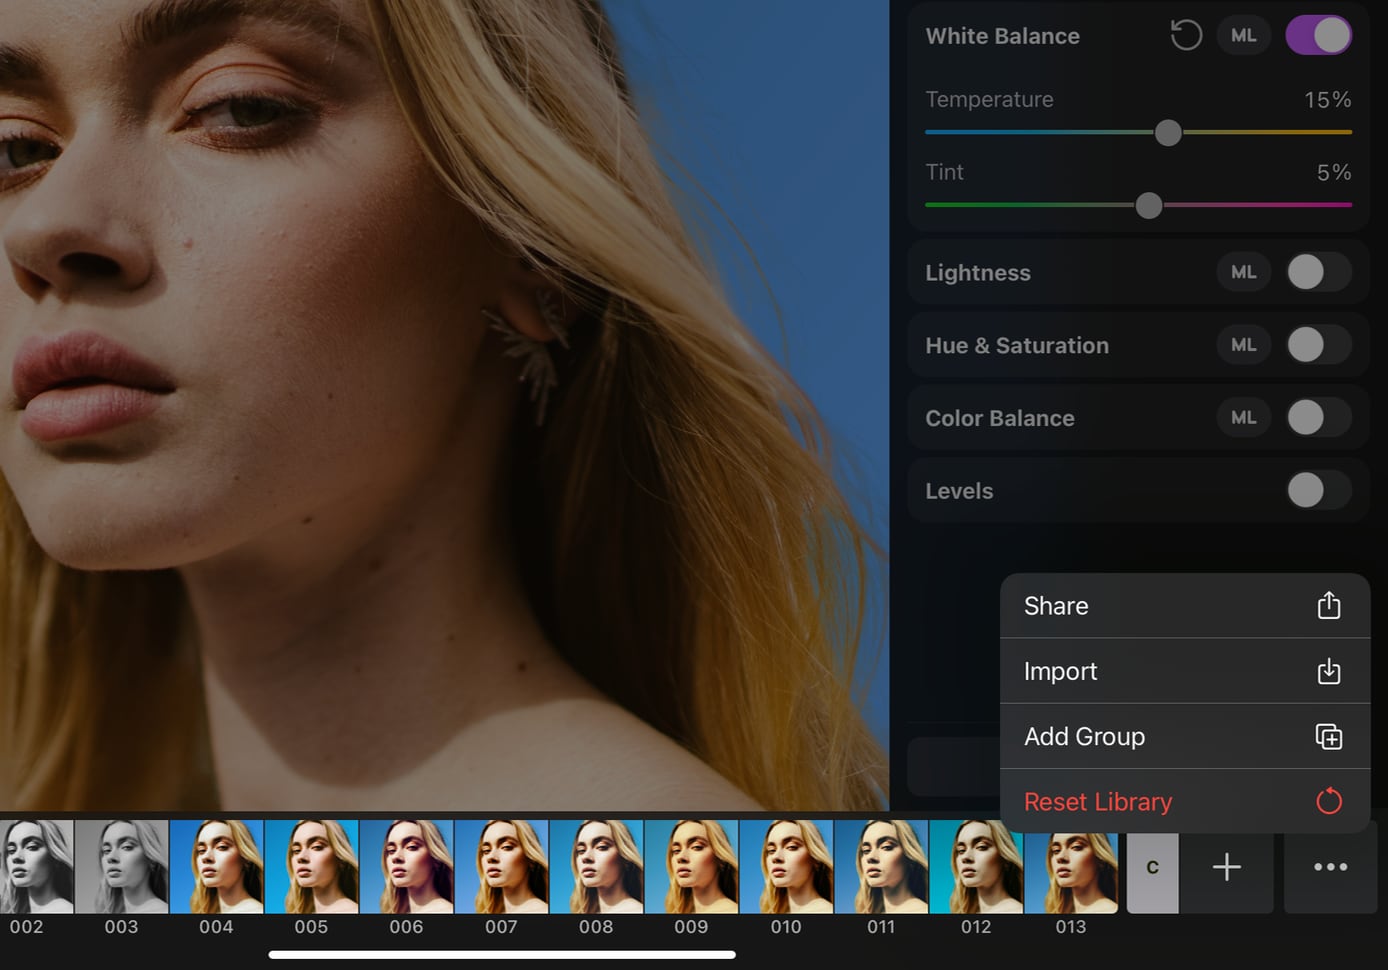
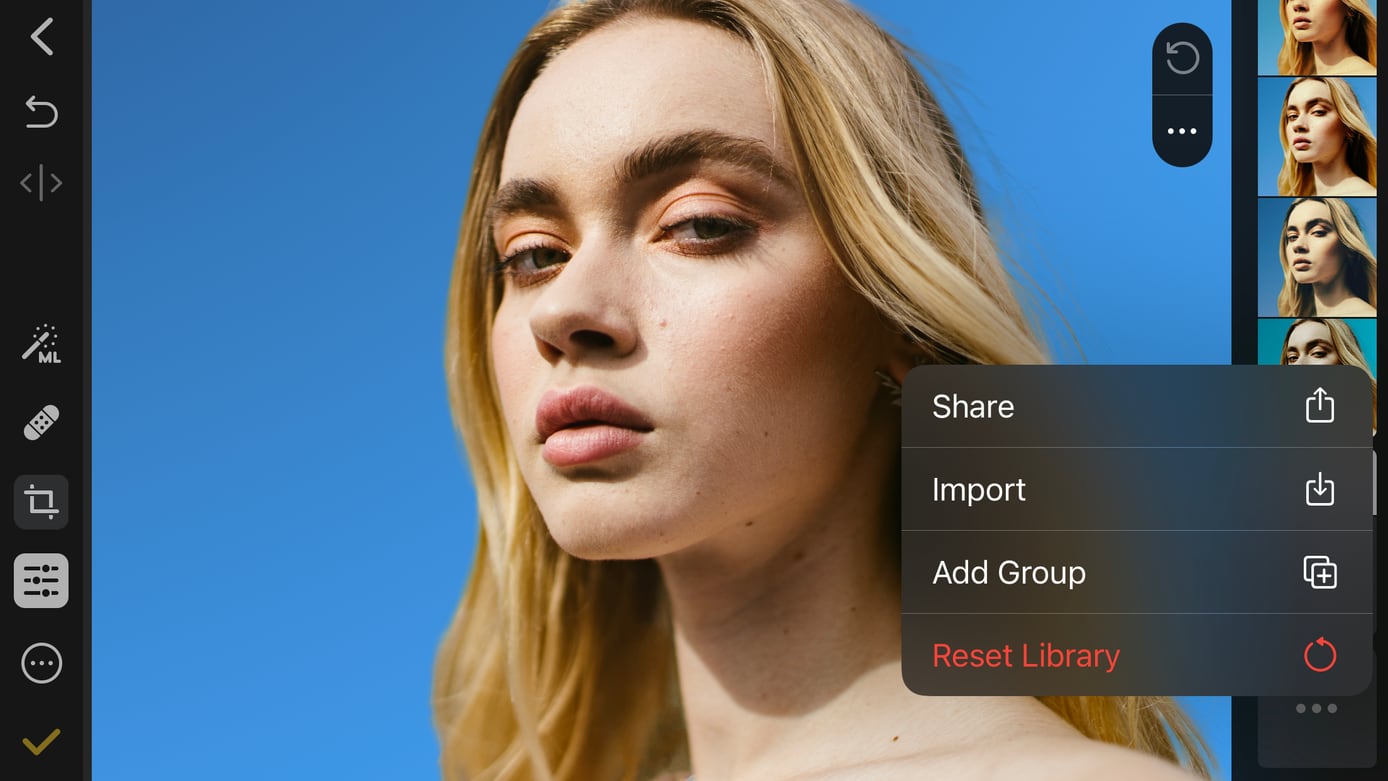
- Add a new preset group: Tap More in the presets bar and choose Add Group.
Edit preset group's details: Touch and hold the preset group tag and choose Details from the shortcut menu. Tap Edit Details below the preset category description, then rename, add a new description, or change the color of the preset group tag. To edit the details of the preset groups that come with Photomator, you'll need to unlock them first.
Collapse or expand a preset group: Tap the preset group tag to collapse or expand it.
Share a preset group: Touch and hold the preset group tag, then tap Share and choose where you want to share it.
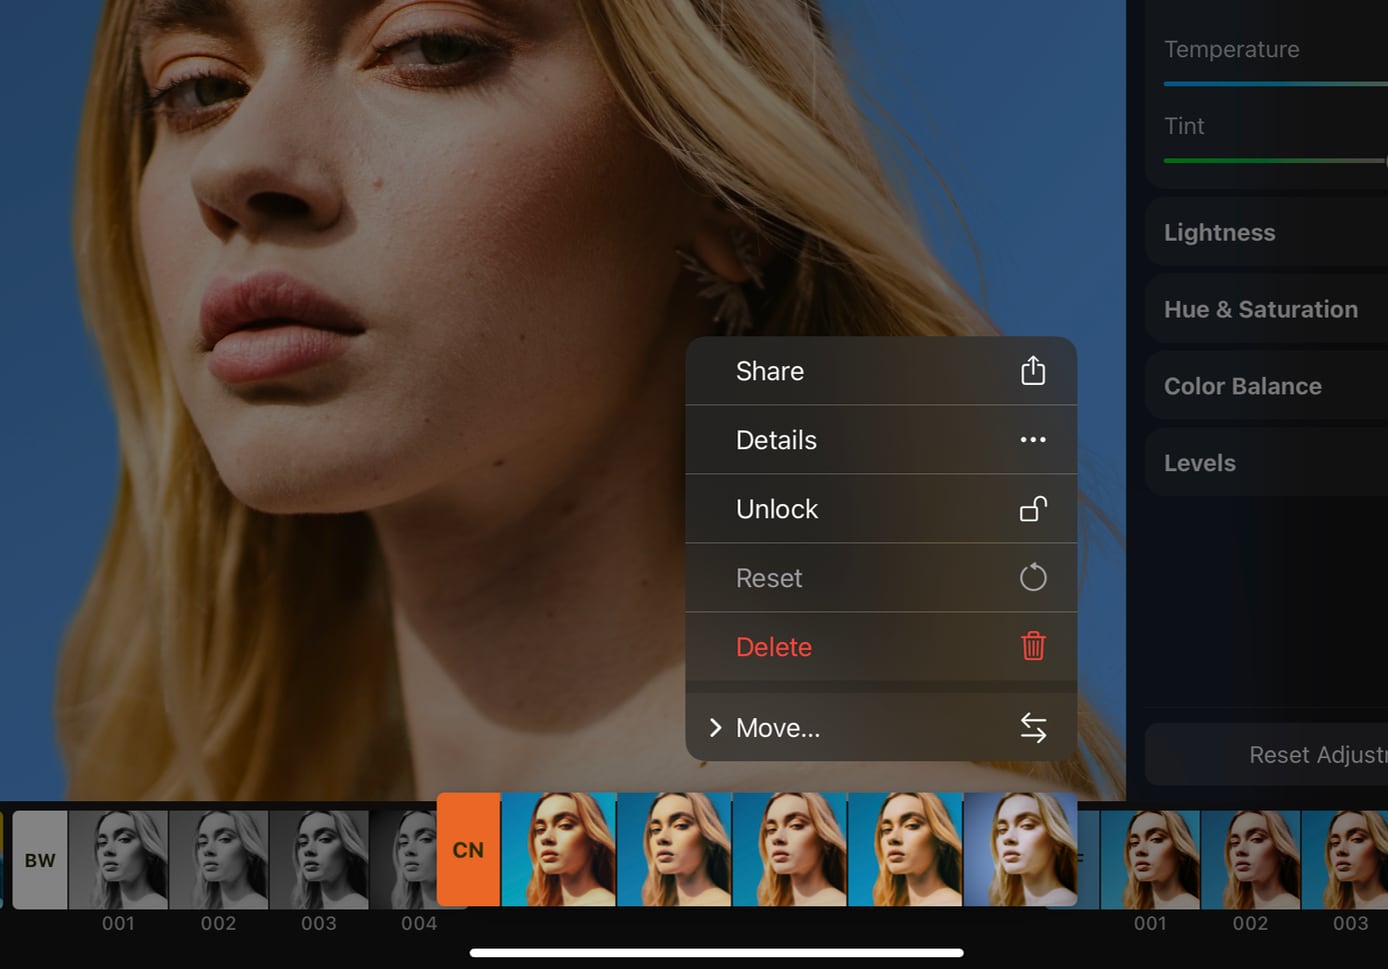
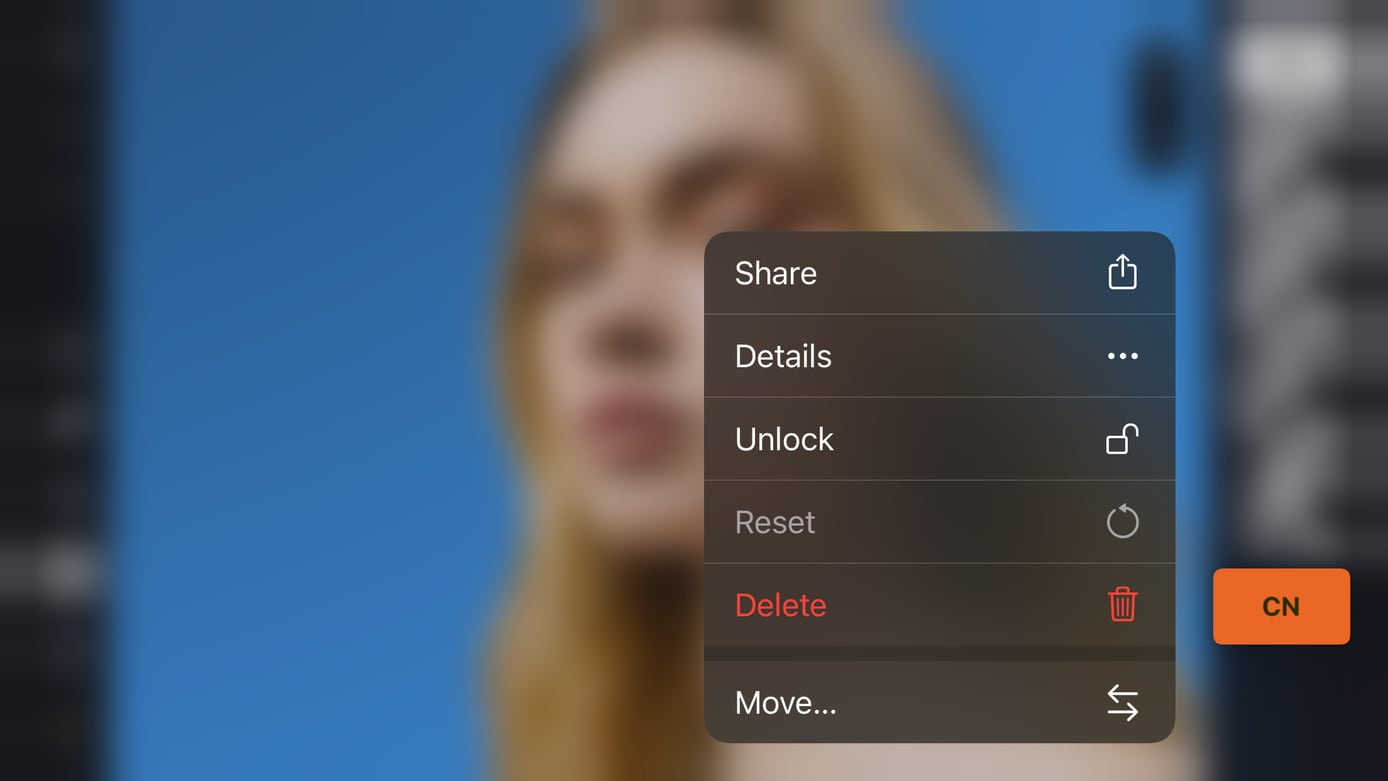
Lock or unlock a preset group: Touch and hold the preset group tag, then choose Lock or Unlock.
Share the entire presets library: Tap More in the presets bar and choose Share.
Import a preset group or entire library: Tap More in the presets bar and choose Import. Then tap the .adjustments file in Recents or tap Browse to choose a different location.
Reset the presets library to default: Tap More in the presets bar and choose Reset Library. Resetting the presets library restores all the default preset collections and removes any presets or preset collections you have created.
Reorder preset groups: Touch and hold the preset group until it starts to hover, then tap Move and choose an option.
Delete a preset or a preset collection
To delete a preset from the list of your custom presets, touch and hold the preset thumbnail and choose Delete Preset. Tap Delete again to confirm you want to permanently delete the preset.
To delete an entire preset collection, touch and hold the collection tag and tap Delete. Tap Delete again to confirm you want to permanently delete the preset collection.
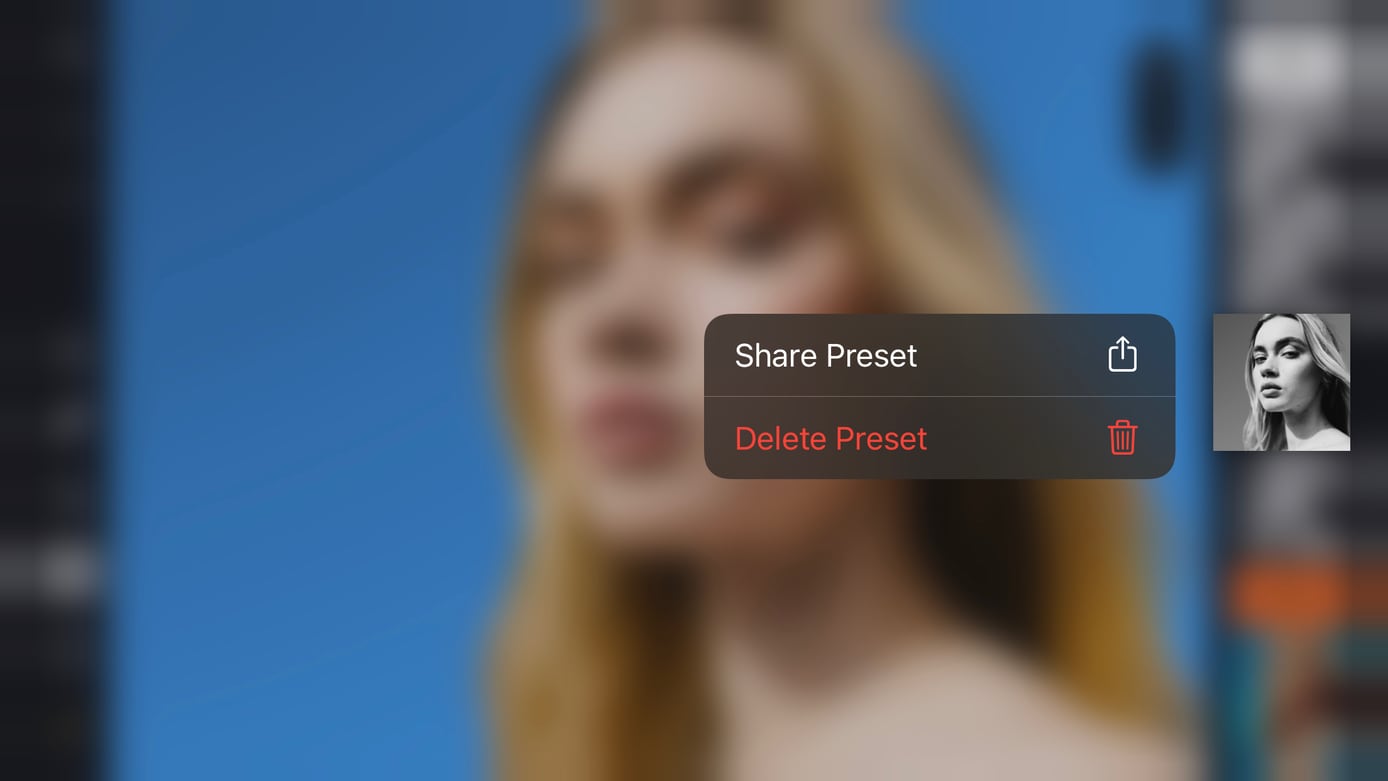
Save a recent preset
In the Recents (R) group, you'll find presets automatically generated using settings of up to 5 of your previously edited photos. Once you create a new preset, the oldest of the presets is erased. If you want, you can save these presets to use in the future.
Tap
in the toolbar at the top of the screen.Touch and hold the preset in the Recents group and choose Share Preset > Save to Files.
In the presets bar, tap More and choose Import.
Find the preset you want to import and tap to select it.
The saved preset will be added to your Custom presets collection.
Presets and ML Enhance
The color adjustment presets in Photomator can be applied to virtually any kind of image. However, the presets typically work best on photographs with well-balanced lightness, contrast, and colors.
ML Enhance is a quick and easy way to get that solid base of an image. By turning ML Enhance on, you’ll make sure that the white balance and lightness perfectly fall into place with the rest of the preset adjustments and the image always looks and feels just right.
Note: When used together with presets, ML Enhance adjusts the White Balance and Lightness only to allow preset-specific changes to be applied to the rest of the adjustments.