Upgrade to Pixelmator Pro, the latest and greatest version of Pixelmator. Learn more

Double exposure is a technique in which you combine two (or more) images into one to create artistic looks, like a ghost effect, mirror images, combining one object into another, and much more. The technique is derived from an old photography trick in which you expose a photographic film twice to create a single photo. Old or new, the reasons for using this technique are still the same — it creates stunning artwork!
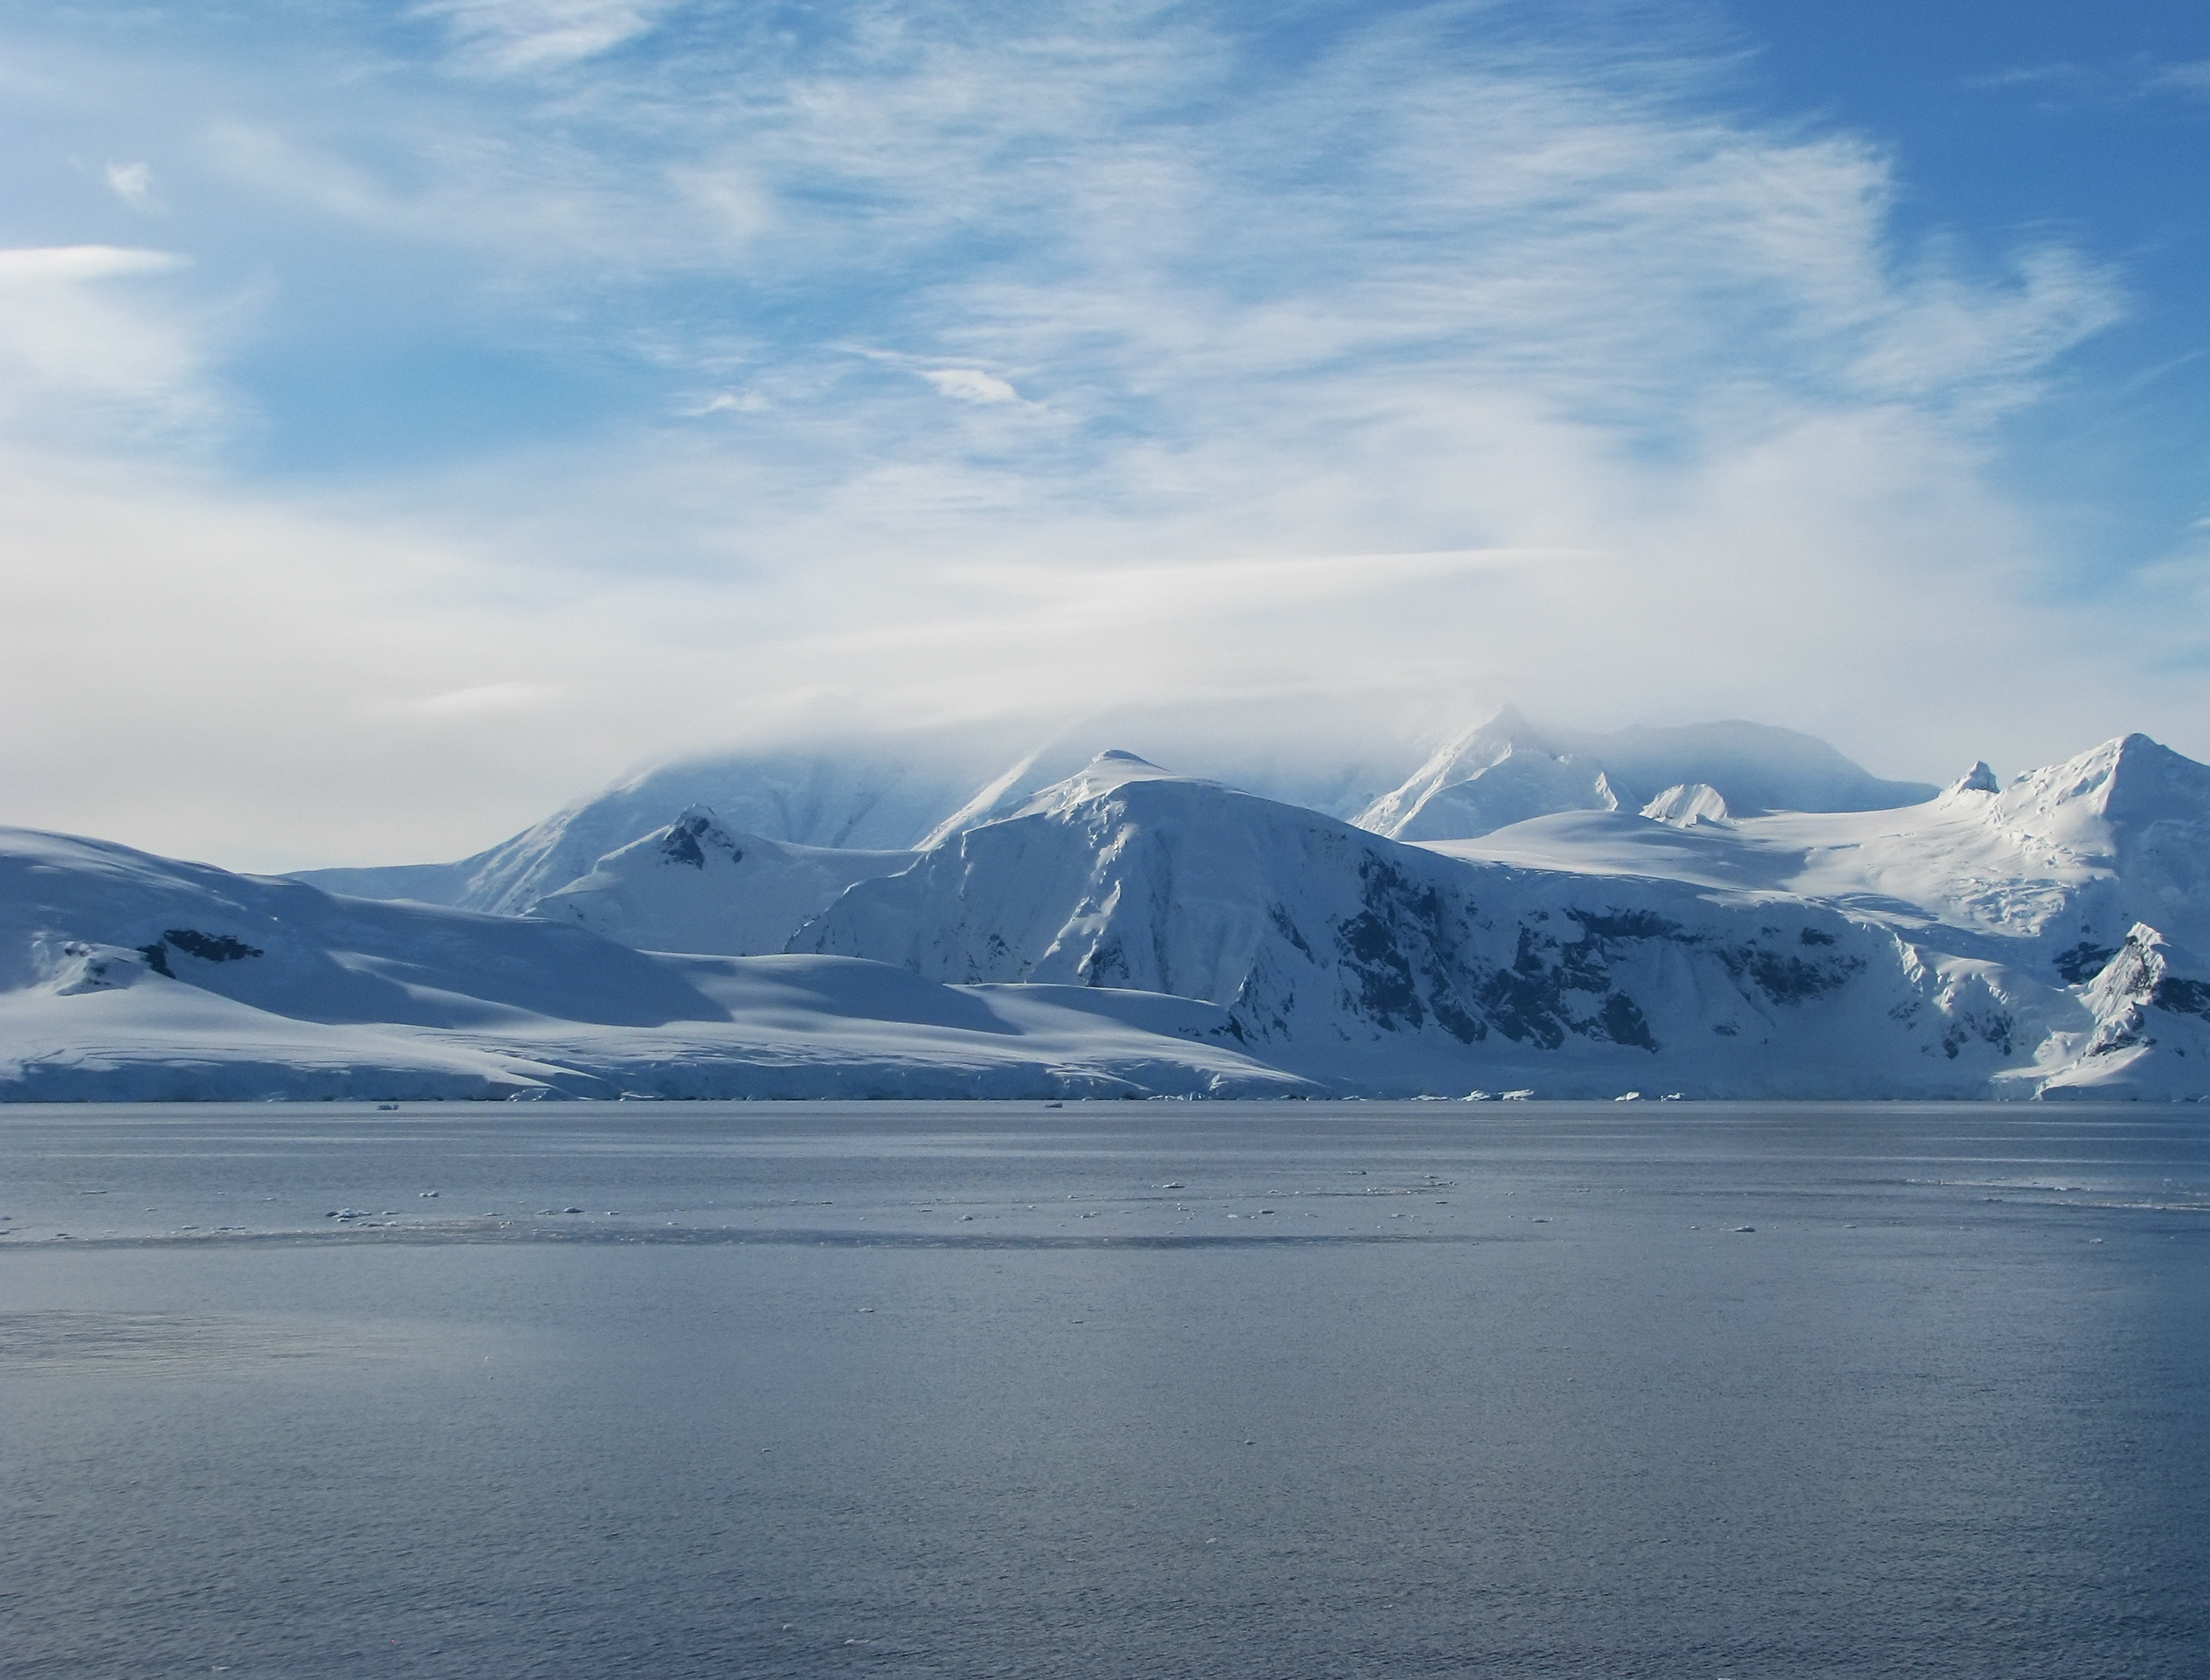
The Move Tool, Layers, Blending modes, and Liquify tools are used in this tutorial. Before you begin, download the Background, Polar Bear, Mountains Background, and Ice Background images to create exactly the same effect, but feel free to use your own photos, too.
Step 1
Open the Background Image in Pixelmator. Choose File > Open, locate the downloaded image, and click Open.

Step 2
Place the Polar Bear image into the composition. Choose Layer > New Layer > Choose Picture, select the Polar Bear image, and click Open. Use the Move Tool to postion the Polar Bear anywhere you like.

Desaturate the Polar Bear image so that the texture and colors of Mountains Background and Ice Background images will be more visible when you add them later. Choose View > Show Effects to bring up the Effects Browser. Locate the Colorize color adjustment and double-click it. In the Colorize dialog, reduce the Saturation to 0%, and slightly increase the Lightness (to around 58%).

Step 3
Add Mountains Background and Ice Background images. Choose Layer > New Layer > Choose Picture and select the Mountains Background image to open. Then do the same with the Ice Background image.

Now shape the image with a Clipping Mask. Select the Mountains Background layer and choose Layer > Create Clipping Mask. Repeat the same with the Ice Background layer.

It’s time to create the double-exposure effect! Select the Mountains Background layer and choose the Multiply blending mode, then reduce the Opacity to around 50%. Next, select the Ice Background layer, choose the Linear Burn blending mode, and reduce the Opacity to around 60%.

You can see now how the background images overlap. To create a final look, move the background images around with the Move Tool to tweak the effect. Also, you can choose Edit > Flip Vertical, or Flip Horizontal commands to change the position of the texture images. Play around with these tools until you get the appearnce that suits your eye and artistic vision.
Step 4
To add a nice touch to the overall image, add a reflection. To do that, select the Polar Bear, Mountains Background, and Ice Background images and choose Layer > Group Layers (name the group Polar Bear). Then, with the group still selected, choose Edit > Duplicate. A new group, titled “Polar Bear copy” is created. Merge it, so it becomes a single layer (Control-click the group and choose Merge Group).

Next, flip the layer vertically. Choose Edit > Flip Vertically. Move the Polar Bear layer down so that the bear’s soles match one another. To make the reflection a little more natural, use the Warp Tool to nudge the back paws so that the soles match just like in a reflection.

Move the layer below the Polar Bear group, so that the excess of paws is hidden. Also, you may want reduce the opacity slightly.

And finally, to create a more convincing reflection, add gradient. To do that, add a layer mask. Choose Layer > Add Layer Mask. Select the layer mask in the Layers palette. Then choose the Gradient Tool in the Tools palette. In the Tool Options Bar, click the gradient well, choose the “white to grey” gradient, and apply a gradient at the bottom of the canvas. Learn more about using the Gradient Tool here.

And that’s all — a few simple steps to create a double-exposure effect. You can experiment more with different shapes, textures, colors, and much more — whatever strikes your imagination. And if you share your artwork on Twitter or Facebook, we’d like to encourage you to tag Pixelmator in your posts for a chance to be featured!